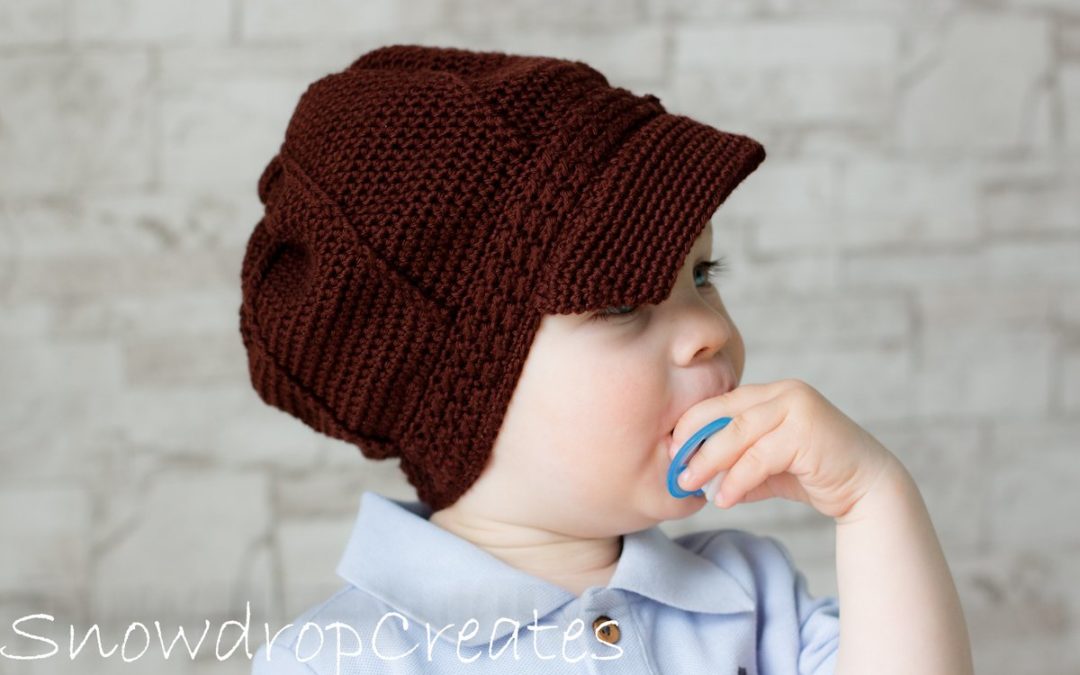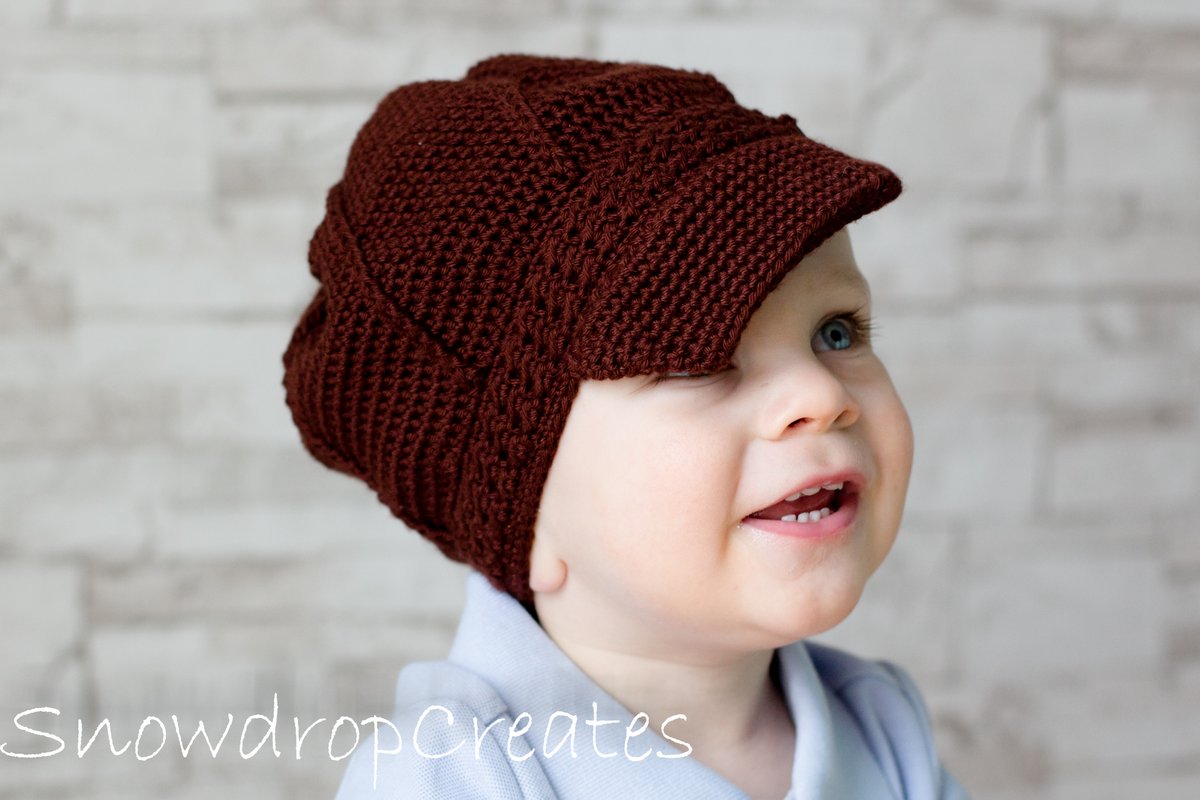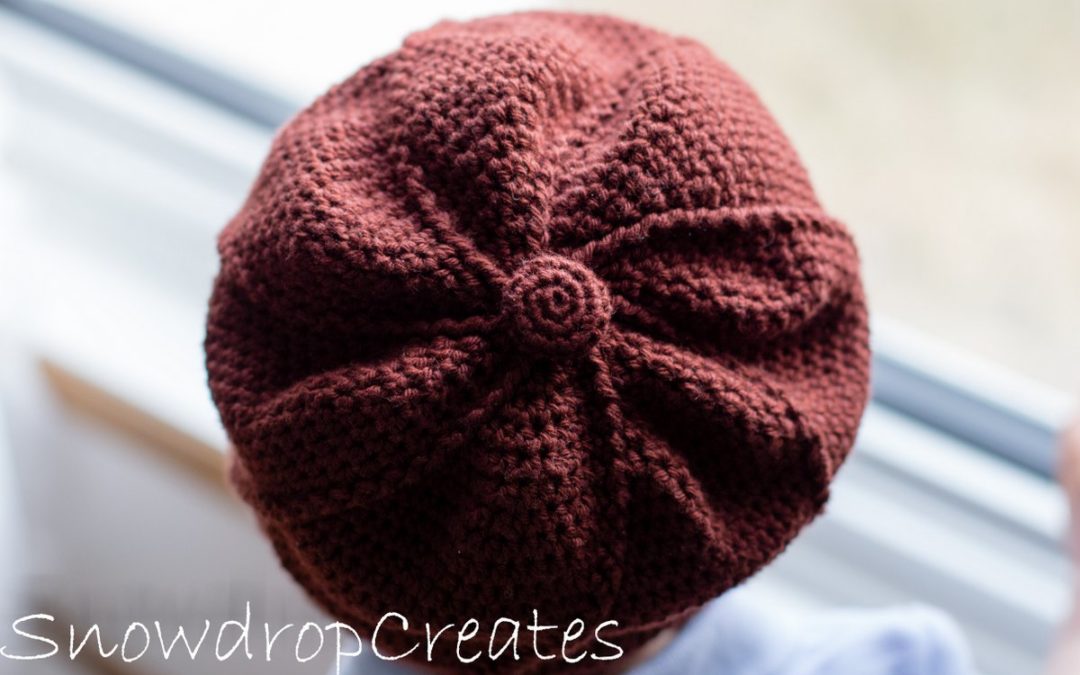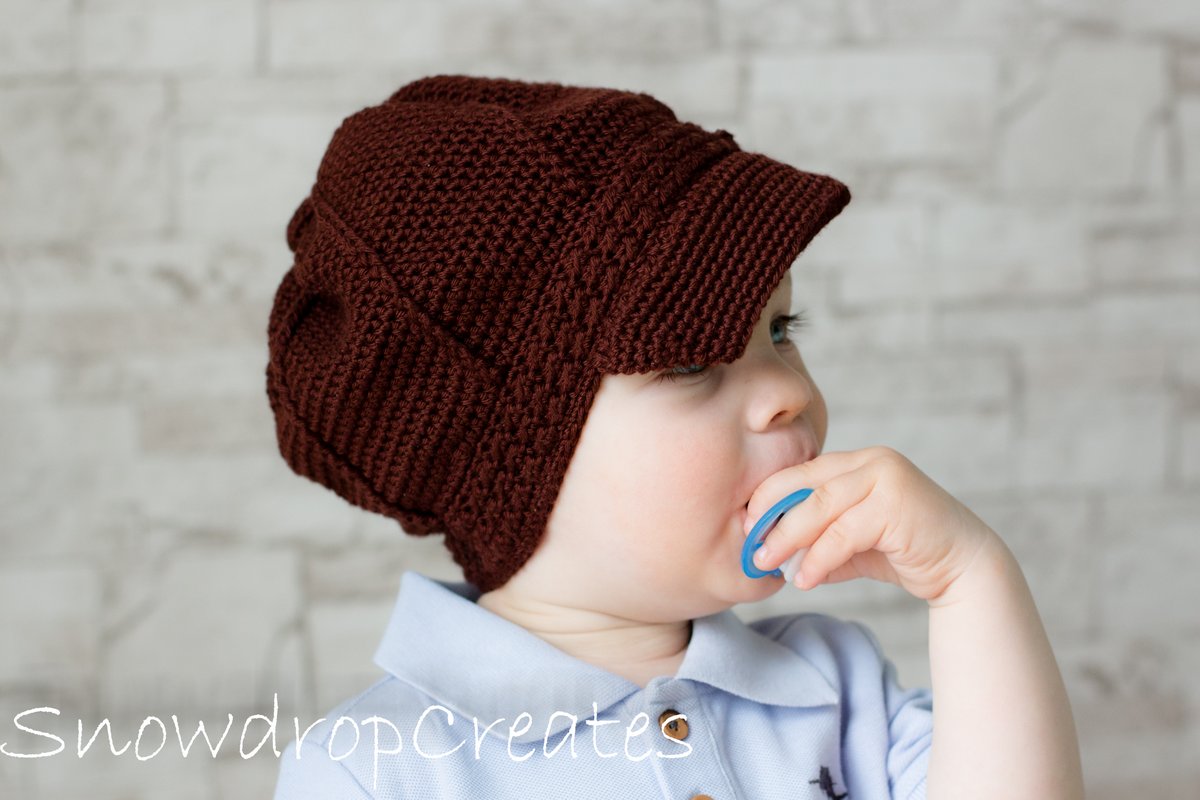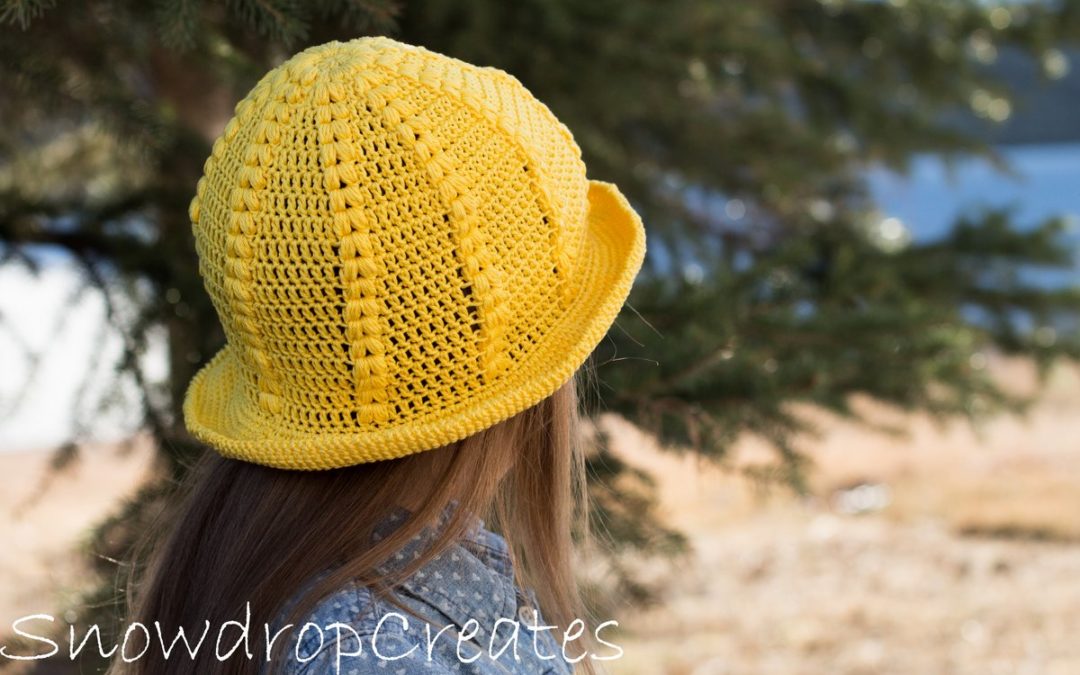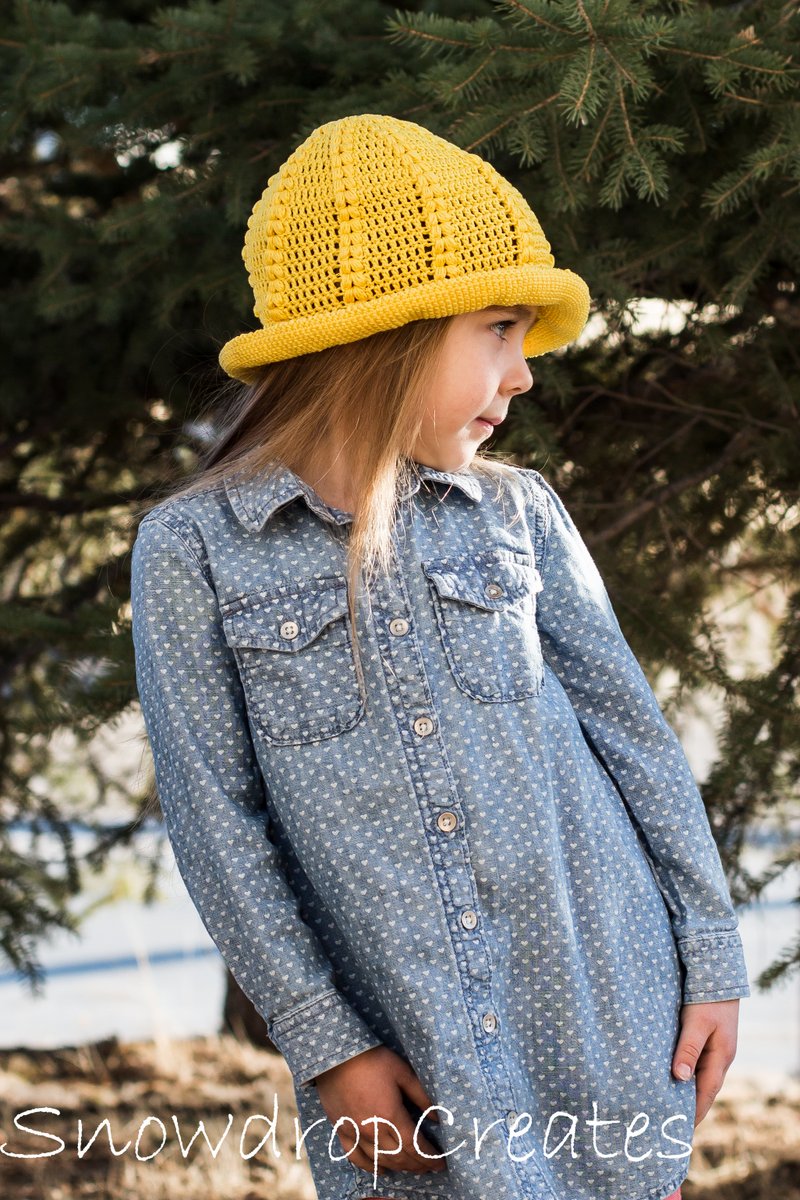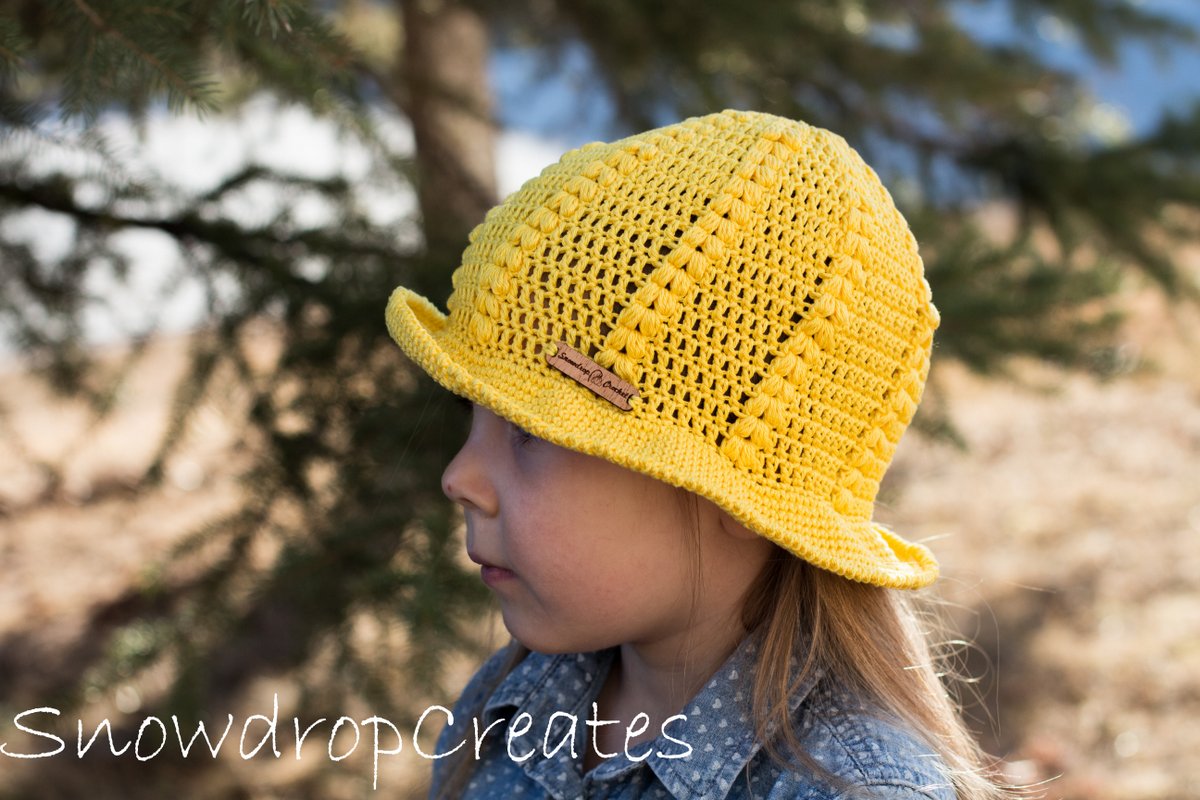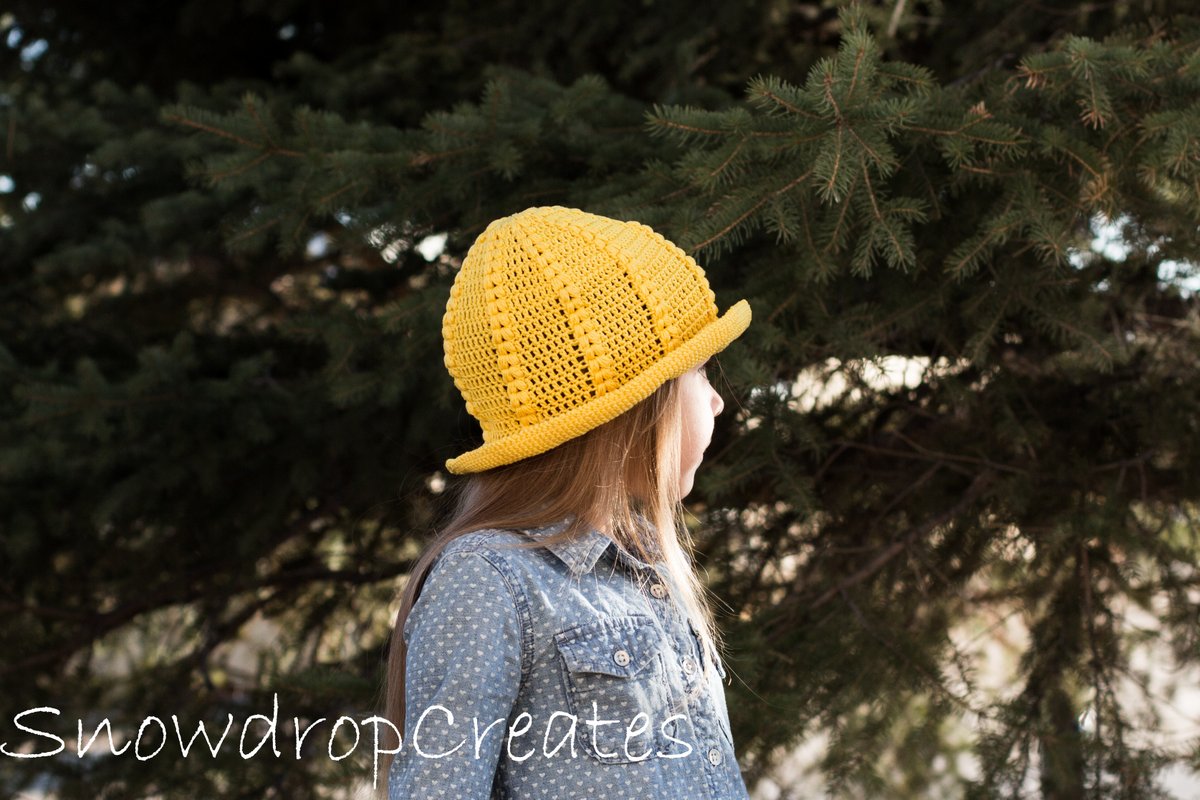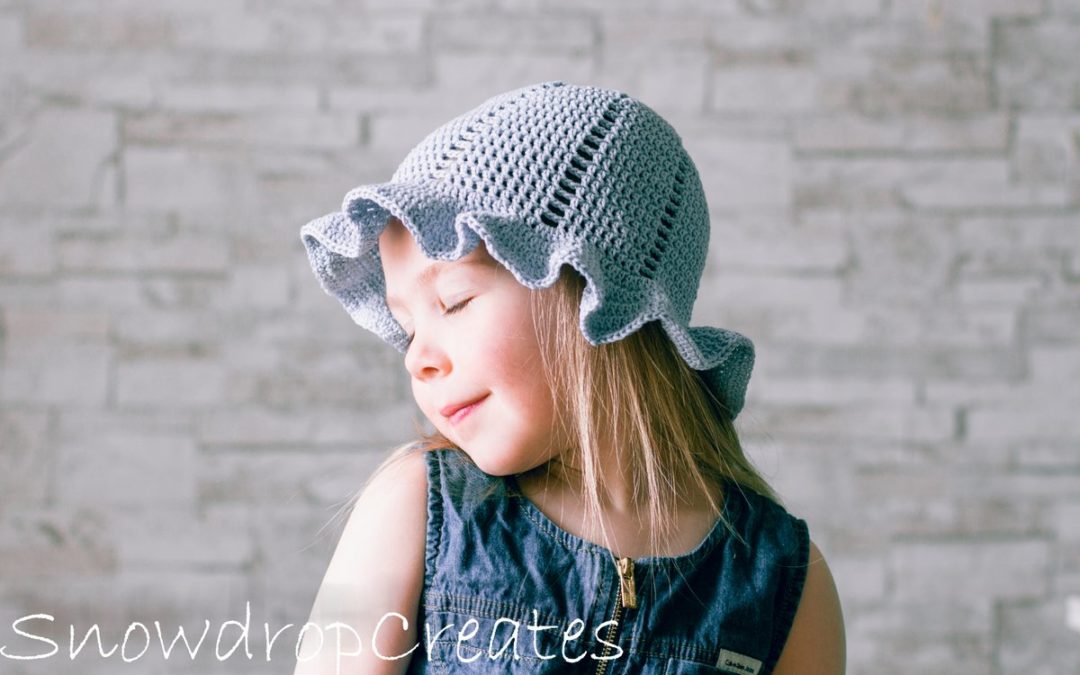
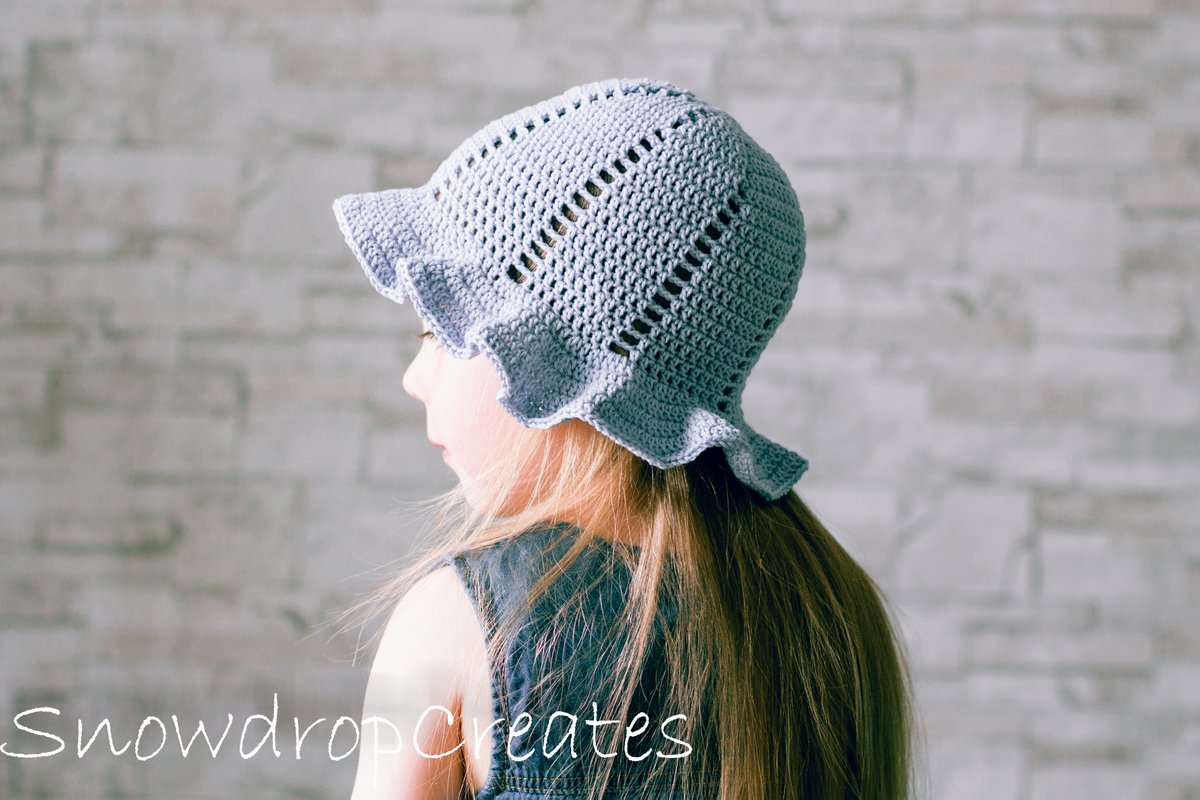
Lilac Sunhat
It is week number 21 in the Year of Hats!! This week I have another cute sunhat for you! My girls all need one, so there is at least one more to come, and the boy’s sunhat was last week’s pattern.
The Lilac sunhat is a little different for sizes. Please read the notes carefully before you start.
I hope you enjoy this pattern and don’t forget to subscribe for a new free pattern every week! 🙂

|
Size: Toddler/Small Kid (18-20” head circumference) Big Child/Adult (21-22” head circumference)
Gauge: 10 sc/12 sc rows in 2” |
Materials: Yarn: Sport weight yarn. Sample was made in Schachenmayr Catania Color (180) Serenity (136 yards/50grams) (2 skeins) Hooks: D/3.25mm Other: Darning needle to weave in the ends |
Abbreviations:
Ch – Chain(s)
Yo –Yarn Over
Sk – Skip
Ch2sp – Chain 2 Space
St(s) – Stitch(es)
Slst – Slip Stitch
Dc – Double Crochet
2dc inc – 2 Double Crochet into Same Stitch
Notes:
- SIZES: This hat is stretchy. The smaller size fits Toddler up to age 6-7 comfortably in the width. The larger size will fit an older child and up to a small Adult. If you would like to make the hat bigger, I suggest using a 3.5mm crochet hook;
- Ch2 at the beginning of each round DOES count as a stitch;
- Always join to 3rd ch of the beginning chain;
- DO NOT TURN your work after each round;
- Always skip ch2sp when working the body, until the first round of the brim;
- *Treat ch2sp as 2 dc in the first round of the brim!*:
Instructions:
Toddler/Small Kid:
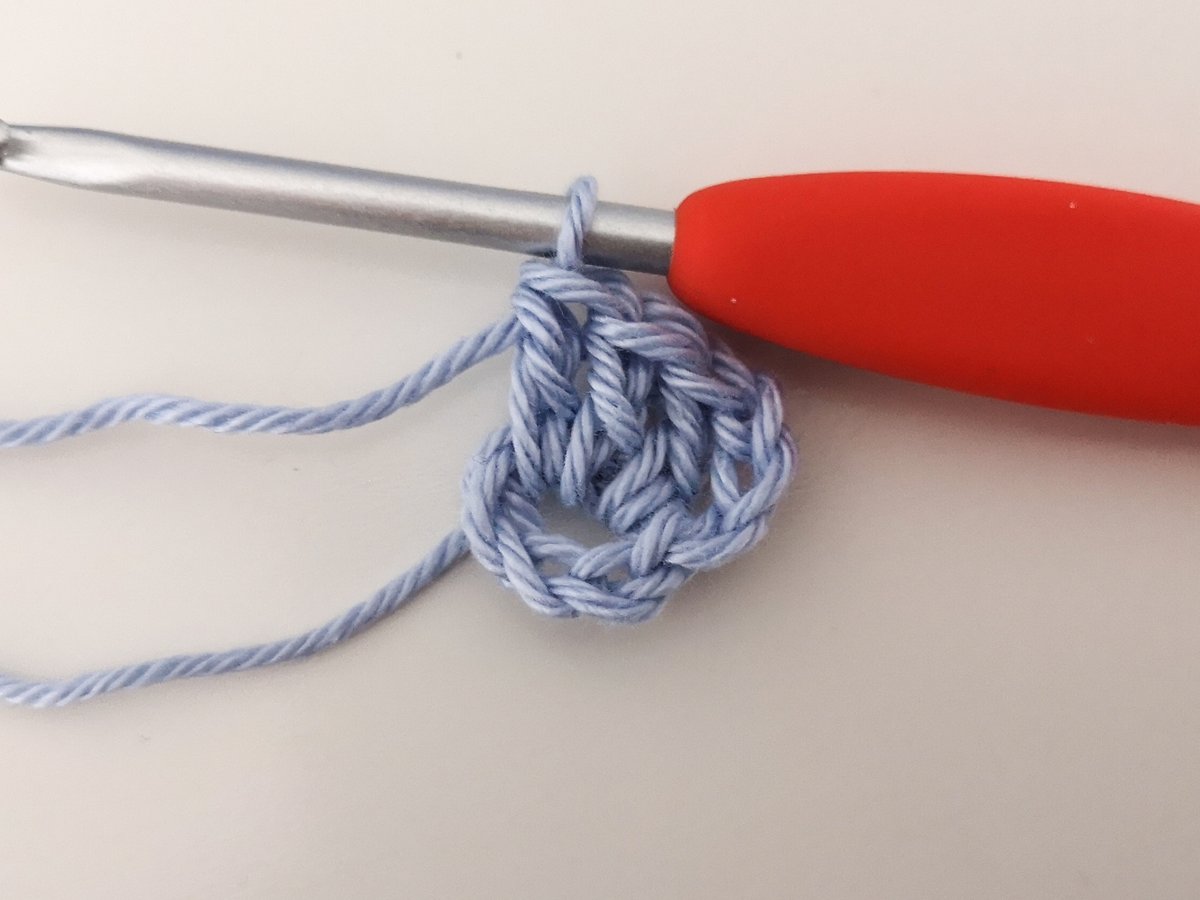
Ch5, join with slst into first ch.
Round 1: Ch3 (counts as dc), dc 23 into ring you just formed; join to top of ch-3
Round 2: Ch3, dc in next 2 sts, (ch2, dc in next 3 sts) 7 times, ch2, join.
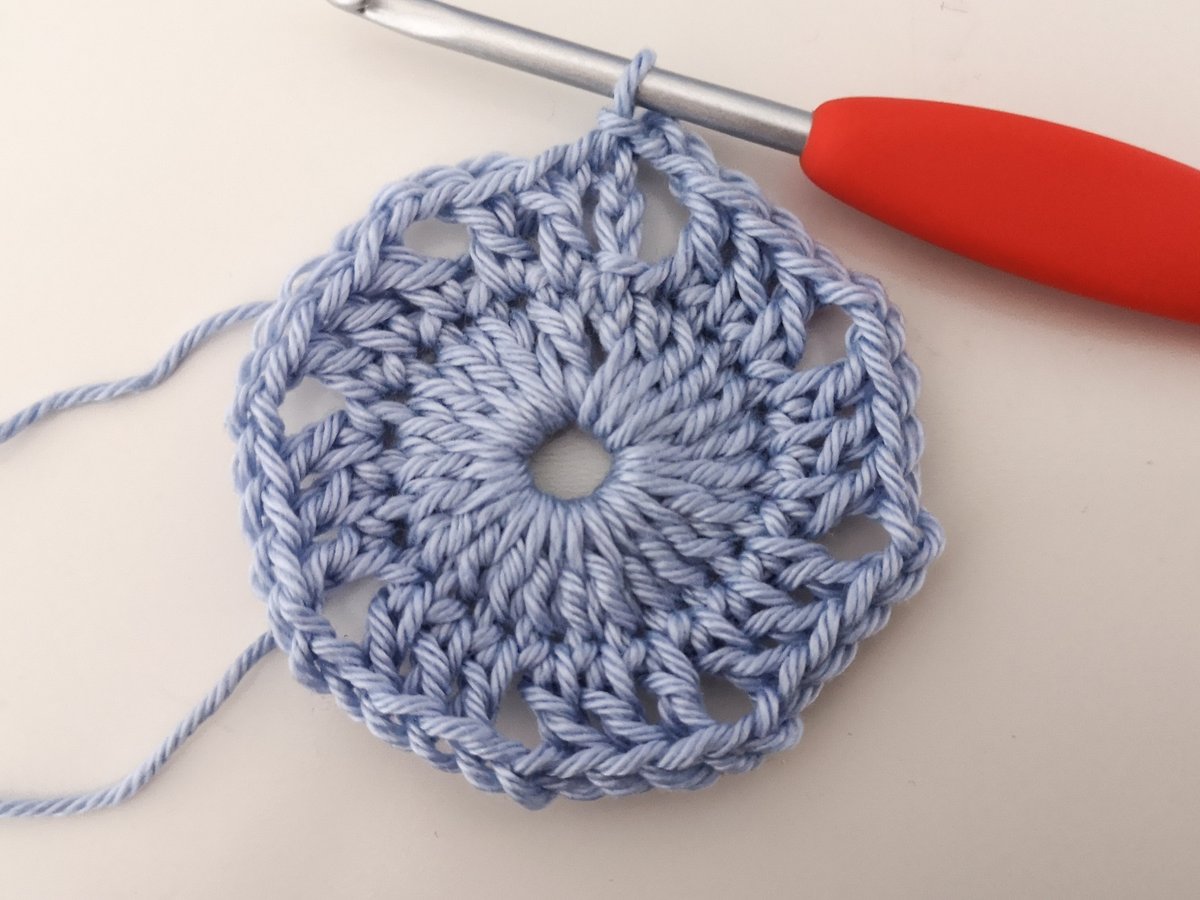
Round 3: Ch3, dc into same st (base of ch), dc 1, 2dc inc, (ch2, 2dc inc, dc1, 2dc inc) 7 times, ch2, join. (Work into dc only and skip ch2sp here and in every round until you reach the brim.)

Round 4: Ch3, dc into same st, dc 3, 2dc inc, (ch2, 2dc inc, dc3, 2dc inc) 7 times, ch2, join.
Round 5: Ch3, dc into same st, dc 5, 2dc inc, (ch2, 2dc inc, dc5, 2dc inc) 7 times, ch2, join.
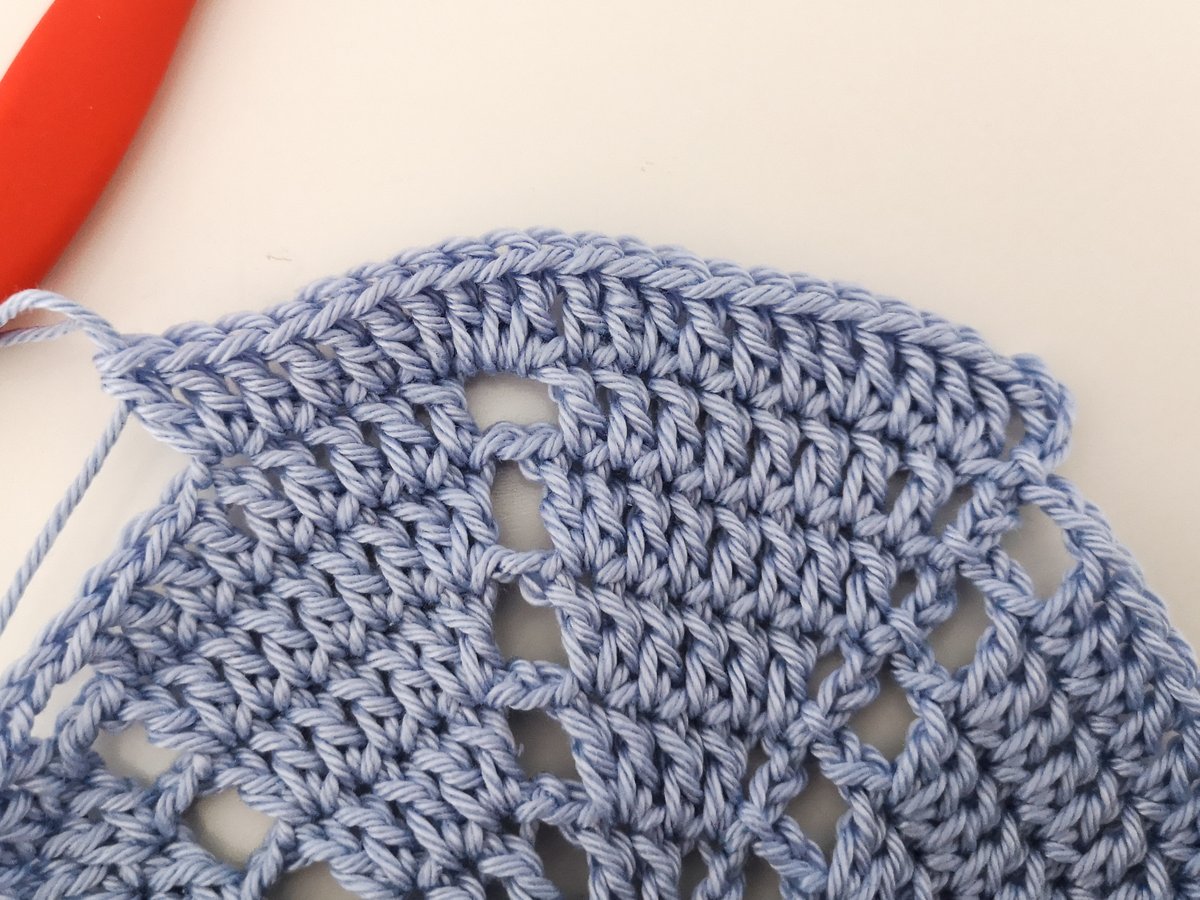
Round 6: Ch3, dc in next 8, (ch2, dc in next 9) 7 times, ch2, join.
Repeat round 6 12 more times for a toddler, 13 more times for a child ages 4-7 (or to desired lenth). Continue with Brim.
Big kid/Adult:
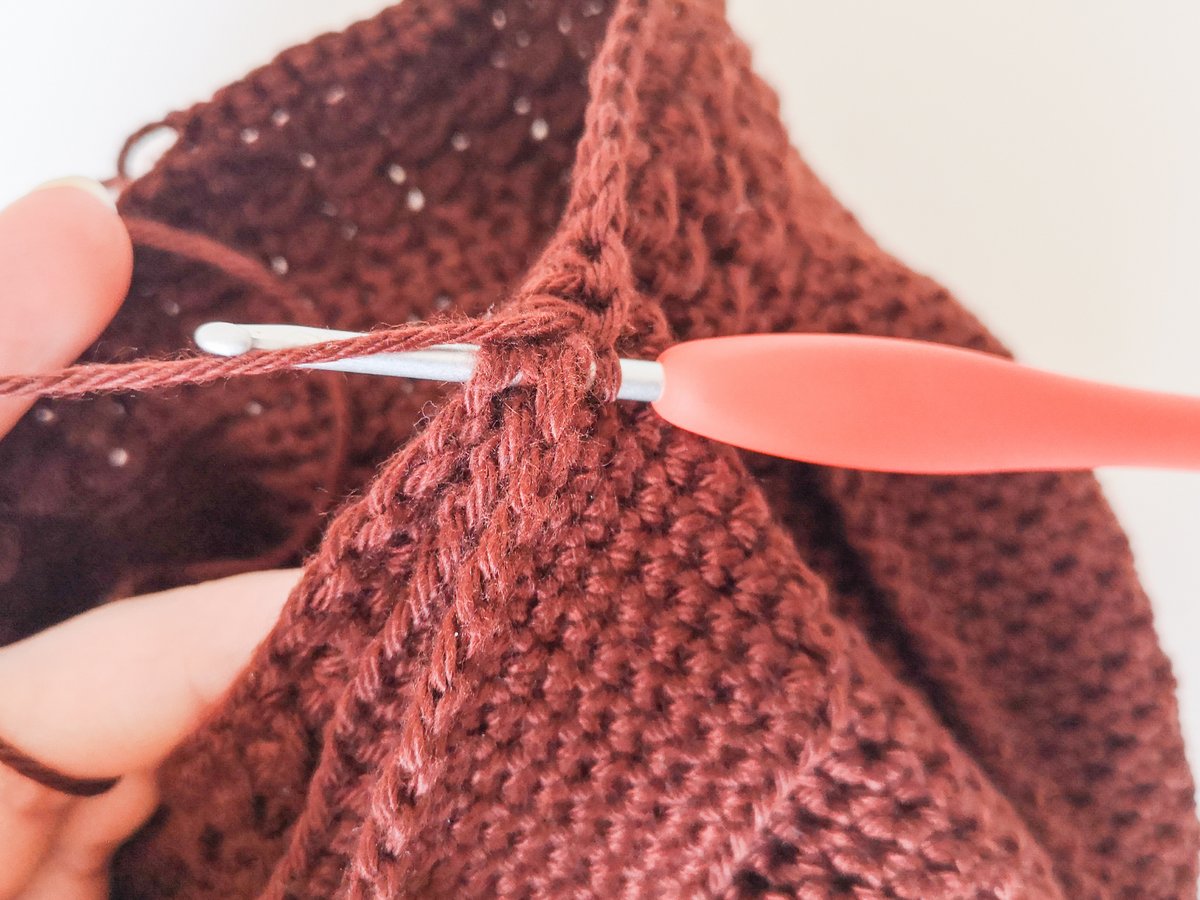
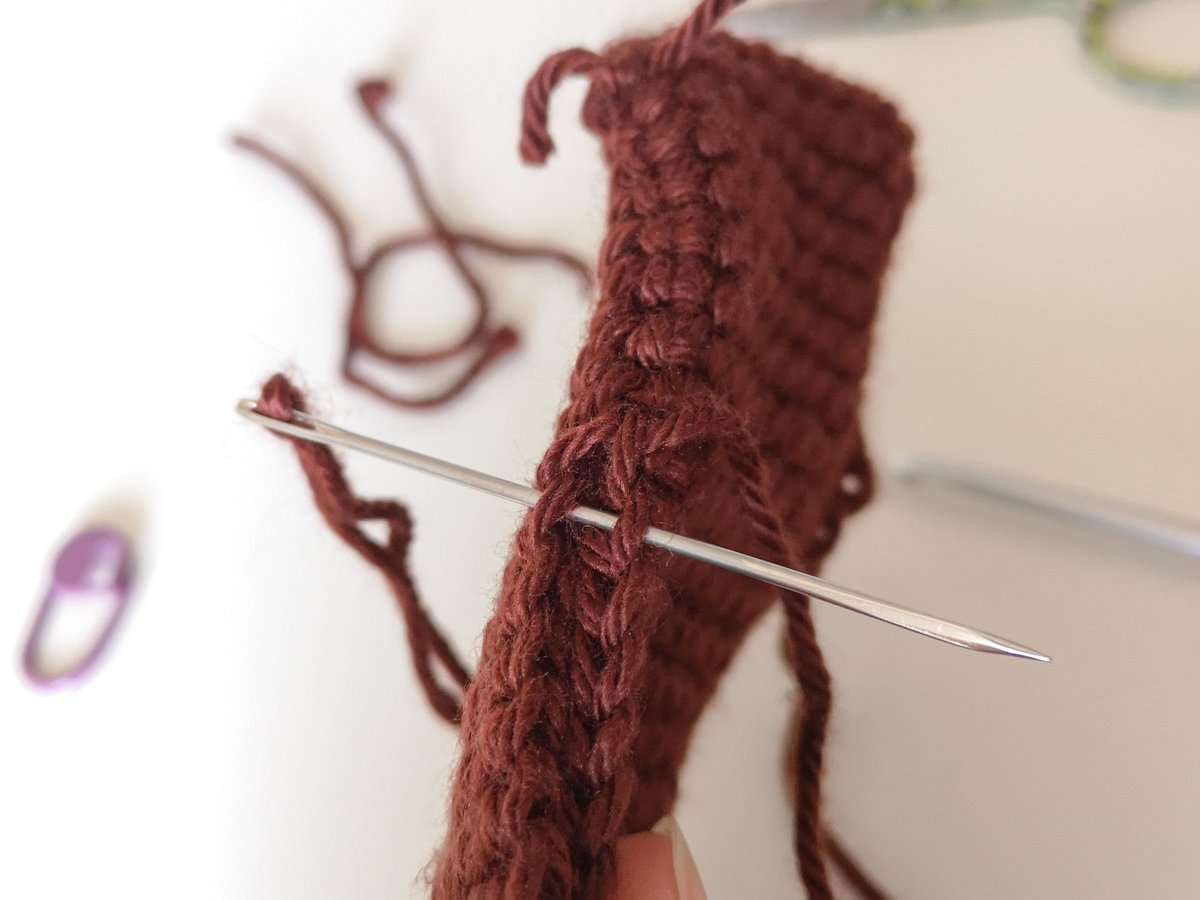
See smaller size instructions for step by step pictures.
Ch5, join with slst into first ch.
Round 1: Ch3 (counts as dc), dc 23 into ring you just formed; join to top of ch-3
Round 2: Ch3, dc in next 2 sts, (ch2, dc in next 3 sts) 7 times, ch2, join.
Round 3: Ch3, dc into same st (base of ch), dc 1, 2dc inc, (ch2, 2dc inc, dc1, 2dc inc) 7 times, ch2, join.
Round 4: Ch3, dc into same st, dc 3, 2dc inc, (ch2, 2dc inc, dc3, 2dc inc) 7 times, ch2, join.
Round 5: Ch3, dc into same st, dc 5, 2dc inc, (ch2, 2dc inc, dc5, 2dc inc) 7 times, ch2, join.
Round 6: Ch3, dc into same st, dc 7, 2dc inc, (ch2, 2dc inc, dc7, 2dc inc) 7 times, ch2, join.
Round 7: Ch3, dc in next 10, (ch2, dc in next 11) 7 times, ch2, join.
Repeat round 7 15 more times (or to desired length). Continue with Brim.
Brim:
Round 1: Ch3, 2dc inc in next st, dc 1, 2dc inc, dc 3, 2dc inc, [(dc 1, 2dc inc)twice, dc 3, 2dc inc] repeat around, join. *See NOTE: treat ch2sp as 2 dc*
Round 2: Ch3, dc 1, 2dc inc, dc 2, 2dc inc, dc 4, 2dc inc, [(dc 2, 2dc inc) twice, dc 4, 2dc inc] repeat around, join.
Round 3: Ch3, dc 4, 2dc inc, (dc 3, 2dc inc) twice, [dc 5, 2dc inc, (dc 3, 2dc inc) twice] repeat around, join.
Round 4: Ch3, dc 3, 2dc inc, dc 4, 2dc inc, dc 6, 2dc inc, [(dc 4, 2dc inc) twice, dc 6, 2dc inc] repeat around, join.
Round 5: Ch3, dc 6, 2dc inc, (dc 5, 2dc inc) twice, [dc 7, 2dc inc, (dc 5, 2dc inc) twice] repeat around, join.
STOP INCREASING FOR SMALLER SIZE.
Round 6: Ch3, dc 5, 2dc inc, dc 6, 2dc inc, dc 8, 2dc inc, [(dc 6, 2dc inc) twice, dc 8, 2dc inc] repeat around, join.
Round 7: Ch3, dc 8, 2dc inc, (dc 7, 2dc inc) twice, [dc 9, 2dc inc, (dc 7, 2dc inc) twice] repeat around, join.
Cut yarn and weave in all ends.
You’re done 🙂
If you would like to get the downloadable PDF version of this pattern, you can find it here on Ravelry.

Please, leave me a comment 
Have a happy, crafty weekend and until next week!
Emma