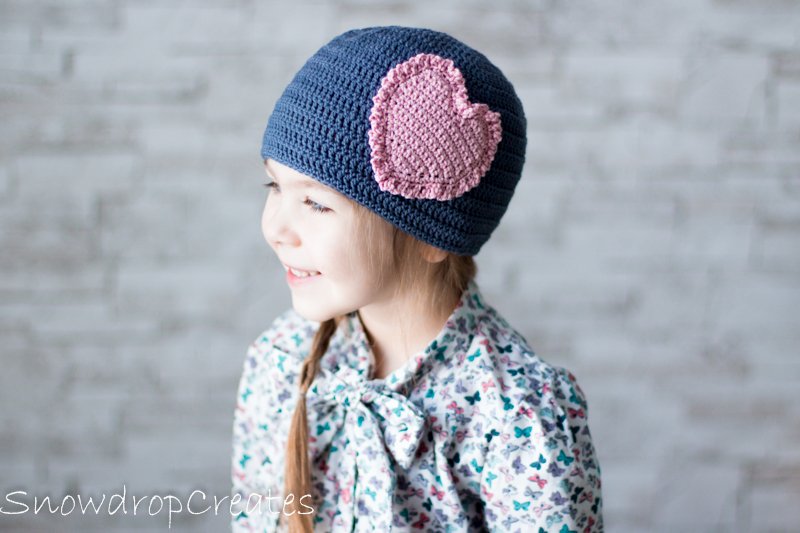
The Sandy Sweetheart Hat
Valentines Day is less than three weeks away! Two and one half weeks to be exact. So we decided to give you a little present early. The new Sandy Sweetheart spring hat pattern!

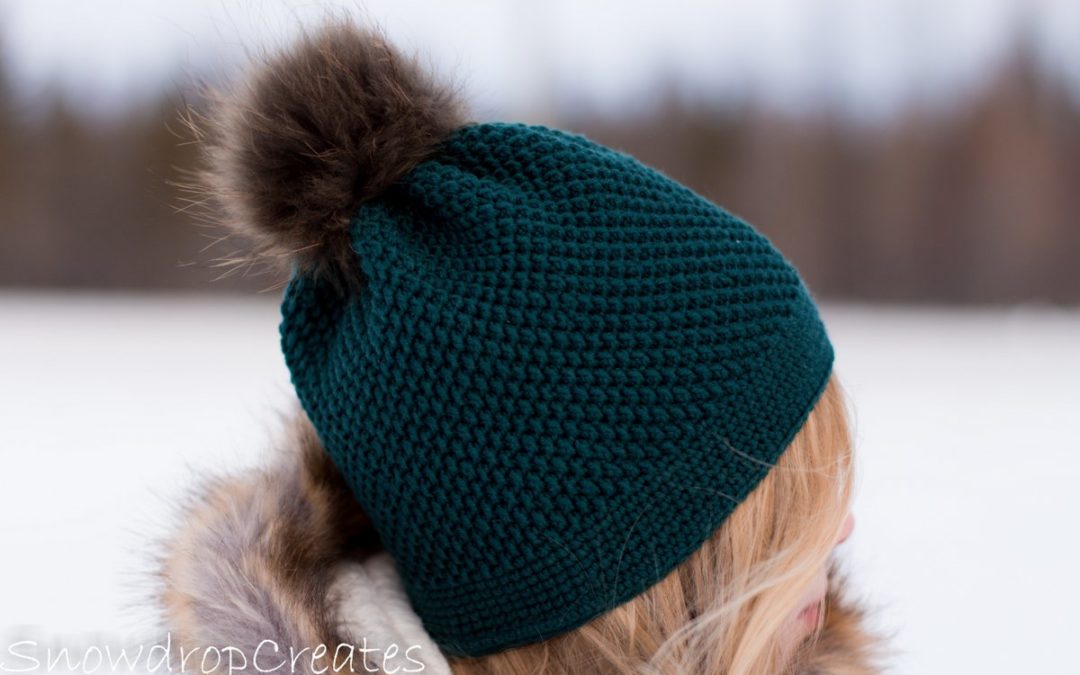
I am a total fan of spring hats. They are a great accessory to any spring,summer or even fall outfit, and provide just that little protection when it is still cool, but not cold enough for a winter hat. You can make it out of a cotton yarn for a lightweight “last touch”, or even wool if you want a bit more warmth still.
The Sandy Sweetheart is such a quick and easy project, and the heart is made up separately so you can choose where and how to place it, or if you want to just leave it out.

And even though spring is still far, far away where we live, this hat starts off the spring in my “Year of Hats”. You don’t want to miss the next ones, so sign up and get emails every time a new pattern is released 🙂
So, here goes:
Sizes:
Toddler (18-19” head circumference)
Child (20-21” head circumference)
Adult (22-23” head circumference)
Notes:
- The ch at the beginning does not count as a stitch
- You are not working in rounds, join and turn after each row
Materials:
- Sport weight yarn. Sample was made with Schachenmayr Catania (1, 1, 2 skeins)
- 3.5mm
Gauge: 10 dc/8 rows in 2”
Abbreviations:
Ch – Chain
St – Stitch
Dc – Double Crochet
Sc – Single Crochet
Slst – Slip Stitch
BLO – Back Loop Only
FLO – Front Loop Only
RS – Right Side
WS – Wrong Side
Instructions:
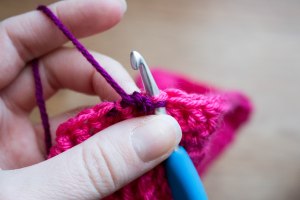
Hat:
Toddler:
Make a Magic Ring.
- Ch2, 9dc in MR, join, turn (9)
- ch1, 2 sc in each dc, join, turn (18)
- ch2, (dc in next st., 2 dc in next st) repeat around, join, turn (27)
- ch1, (sc in next 2 sts, 2sc in next st) repeat around, join, turn (36)
- ch2, (dc in next 3 sts, 2 dc in next st) repeat around, join, turn (45)
- ch1, (sc in next 4 sts, 2 sc in next st) repeat around, join, turn (54)
- ch2 (dc in next 5 sts, 2dc in next st) repeat around, join, turn (63)
- ch1, (sc in next 6 sts, 2sc in next st) repeat around, join, turn (72)
- ch2, (dc in next 7 sts, 2 dc in next st) repeat around, join, turn (81)
- ch1, (sc in next 8 sts, 2 sc in next st) repeat around, join, turn (90)
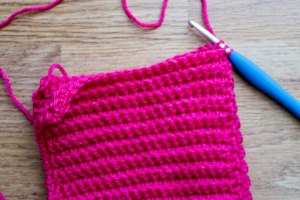
- ch2, dc in each st around, join, turn
- ch1, sc in each st around, join, turn
Repeat rows 11+12 7 more times or to desired length.
Child:
Make a Magic Ring.
- Ch2, 9dc in MR, join, turn (9)
- ch1, 2 sc in each dc, join, turn (18)
- ch2, (dc in next st., 2 dc in next st) repeat around, join, turn (27)
- ch1, (sc in next 2 sts, 2sc in next st) repeat around, join, turn (36)
- ch2, (dc in next 3 sts, 2 dc in next st) repeat around, join, turn (45)
- ch1, (sc in next 4 sts, 2 sc in next st) repeat around, join, turn (54)
- ch2 (dc in next 5 sts, 2dc in next st) repeat around, join, turn (63)
- ch1, (sc in next 6 sts, 2sc in next st) repeat around, join, turn (72)
- ch2, (dc in next 7 sts, 2 dc in next st) repeat around, join, turn (81)
- ch1, (sc in next 8 sts, 2 sc in next st) repeat around, join, turn (90)
- ch2, (dc in next 9, 2dc in next st) repeat around, join, turn (99)
- ch1, sc in each st around, join, turn
- ch2, dc in each st around, join, turn
- ch1, sc in each st around, join, turn
Repeat rows 13+14 7 more times or to desired length.
Adult:
Make a Magic Ring.
- Ch2, 9dc in MR, join, turn (9)
- ch1, 2 sc in each dc, join, turn (18)
- ch2, (dc in next st., 2 dc in next st) repeat around, join, turn (27)
- ch1, (sc in next 2 sts, 2sc in next st) repeat around, join, turn (36)
- ch2, (dc in next 3 sts, 2 dc in next st) repeat around, join, turn (45)
- ch1, (sc in next 4 sts, 2 sc in next st) repeat around, join, turn (54)
- ch2 (dc in next 5 sts, 2dc in next st) repeat around, join, turn (63)
- ch1, (sc in next 6 sts, 2sc in next st) repeat around, join, turn (72)
- ch2, (dc in next 7 sts, 2 dc in next st) repeat around, join, turn (81)
- ch1, (sc in next 8 sts, 2 sc in next st) repeat around, join, turn (90)
- ch2, (dc in next 9 sts, 2dc in next st) repeat around, join, turn (99)
- ch1, (sc in next 10 sts, 2sc in next st) repeat around, join, turn (108)
- ch2, dc in each st around, join, turn
- ch1, sc in each st around, join, turn
Repeat rows 13+14 8 more times or to desired length.
ALL SIZES:
After you have finished your last sc round, join, turn, and work slst in each stitch around. Join, cut yarn, weave in all ends, you’re done!
Heart:
- Ch3, sc into first chain, turn (3)

- Ch1, 2 sc in first st, sc in next, 2sc in last, turn (5)
- Ch1, 2 sc in fist st, sc in next3, 2sc in last, turn (7)
- Ch1, 2sc in first st, sc in next 5, 2sc in last, turn (9)
Continue in this manner until you have 15 sts. You should have 7 rows

- Ch1, sc in each st across, turn
9.-14. Repeat row 8 five more times.
After that:
- a) Ch1, skip first st, sc in next 6, turn (this is your front side. Put a stitch marker on this side of the heart so you remember)

Ch1, sk first st, sc in next 5, turn
Ch1, sk first st, sc in next 4, turn
Ch1, sk first, sc in next 3, bind off
- b) Attach yarn in the middle space on the last full row on the right side

Sk next st, sc in next 6, turn
Ch1, sk first st, sc in next 5, turn
Ch1, sk first st, sc in next 4, turn
Ch1, sk first, sc in next 3 , DO NOT BIND OFF, turn
Edging:
- Ch1, sc in each stitch and row around the whole heart (right side facing), putting three sc in bottom tip of the heart and sc2tog in the top middle, where the rounds meet. Join to first sc, turn


- WS(Ch3, sc in BLO of next st, ch3, sc in FLO of next st.) repeat around heart, join into first sc of row below. Bind off and weave in ends.

Placing the Heart:
Lay the hat in front of you with the seam at the back, then fold backwards, enclosing the seam in the fold. The front right and left quarters should be facing. Pick one of them, this is the right placement for your heart. Use a whipstitch to sew it in place, just inside the frill edge.

You’re done 🙂
If you would like to get an inexpensive PDF copy of this pattern, it is available here on Ravelry.

If you have enjoyed this tutorial, please consider leaving me a comment and follow me on social media to see more pics, and sneak peaks of what is coming 🙂
Please SHARE your makes using #snowdropsandy #snowdropcrochet and/or #sandysweethearthat
Have a happy, crafty week and talk to you soon.
Emma