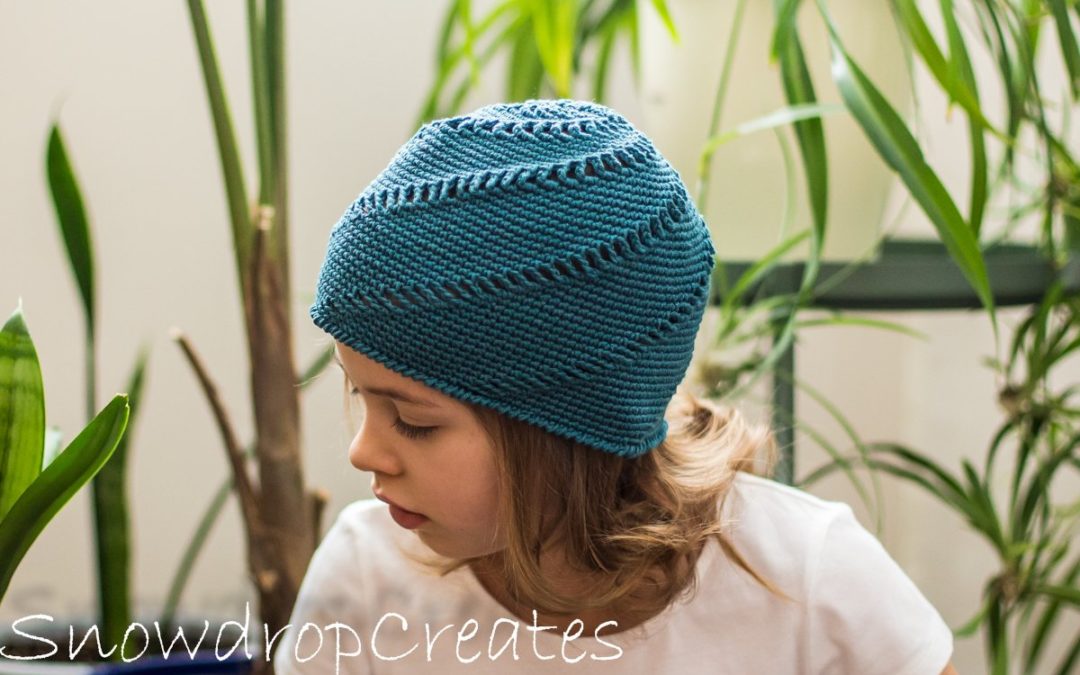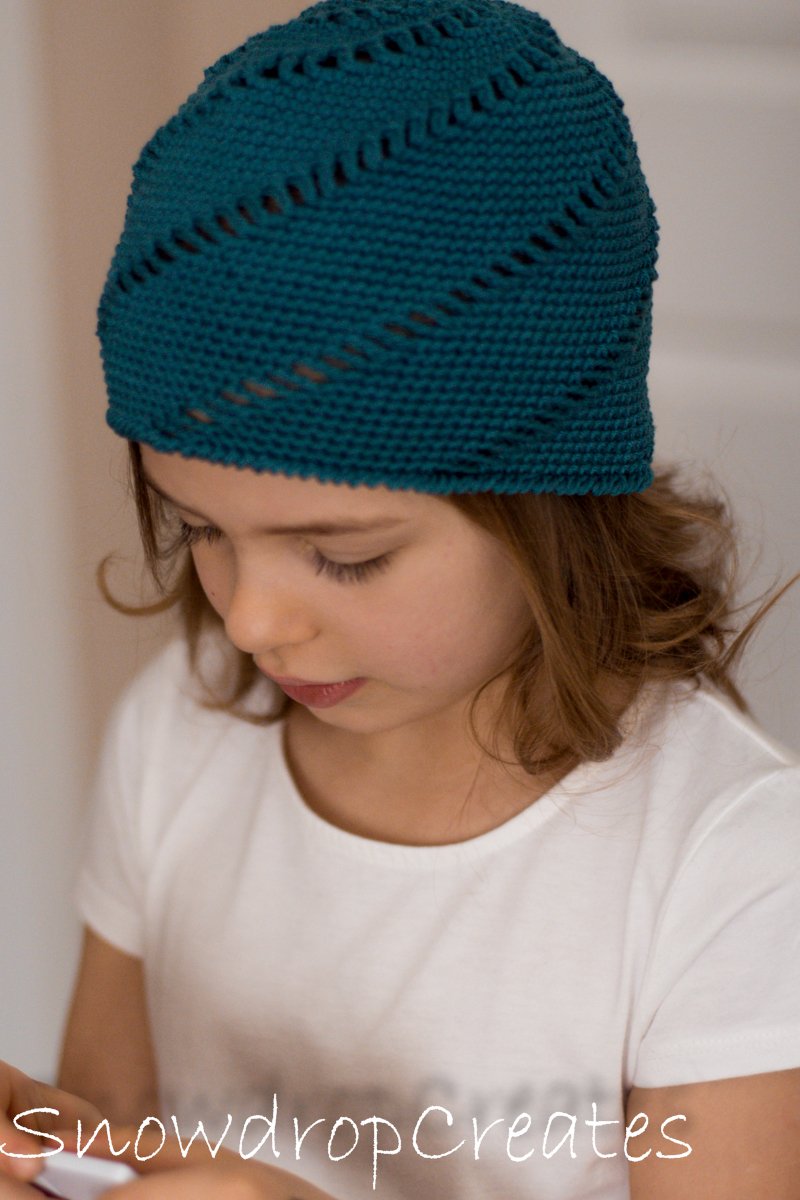
The Rocky Shore Hat
Happy Friday!
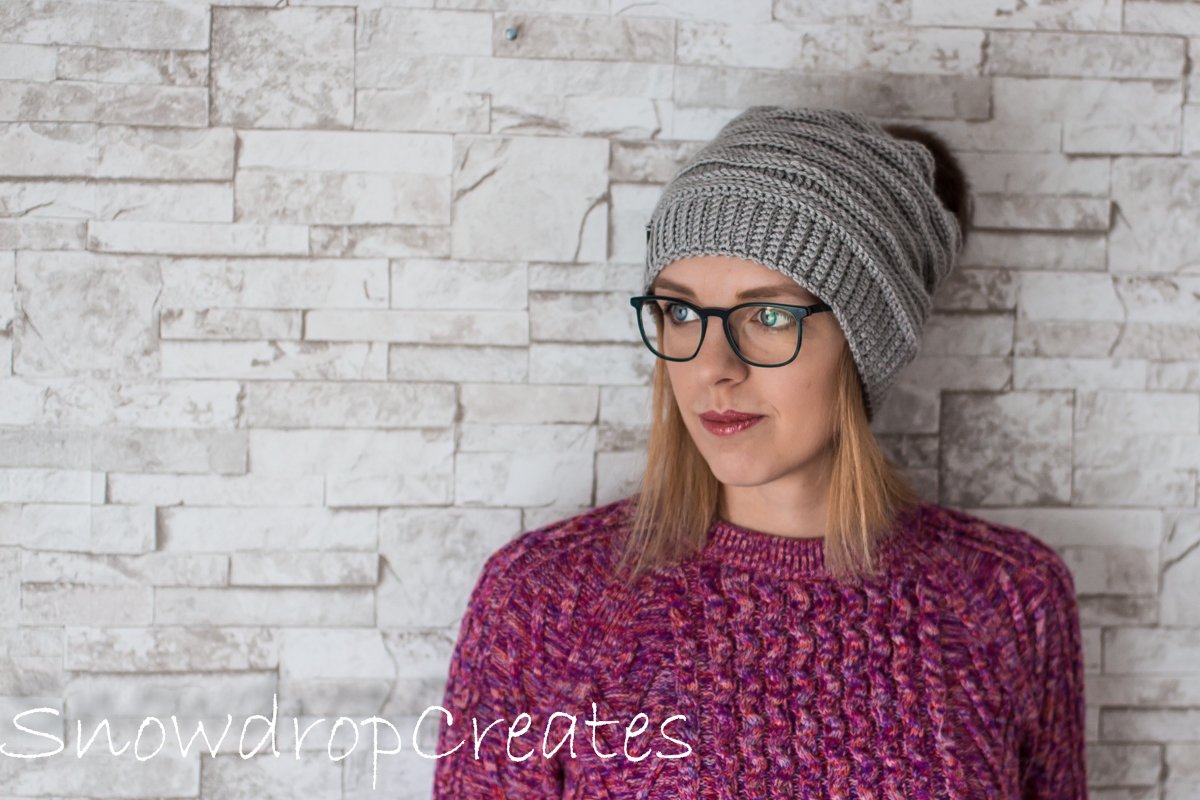
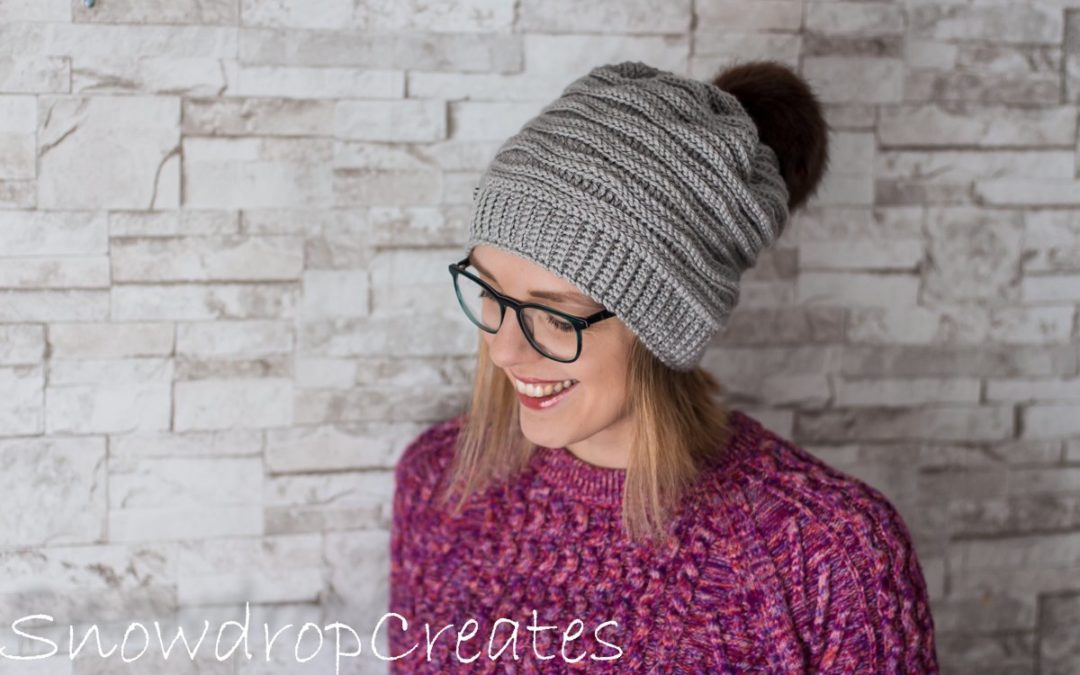
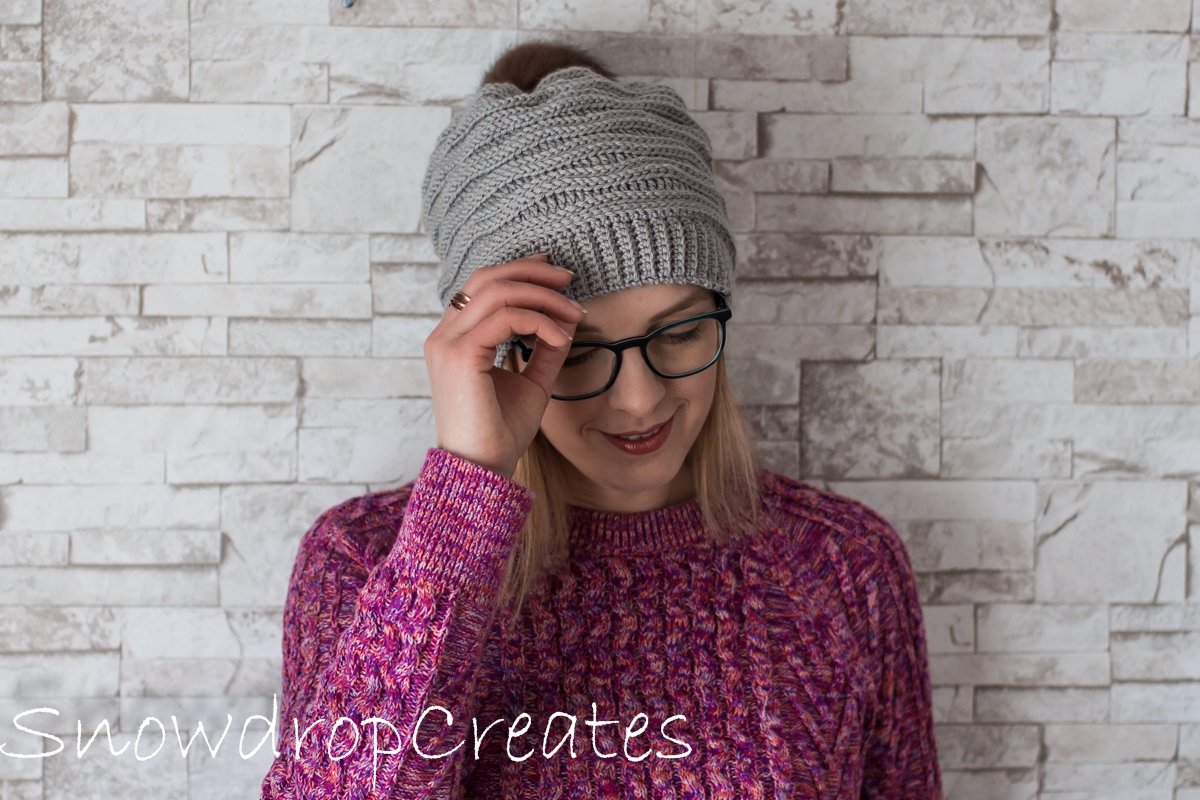
Somehow this week was both long and short and focusing on work was harder than usual. None the less, the Rocky Shore Hat was born, and I really love how it turned out!
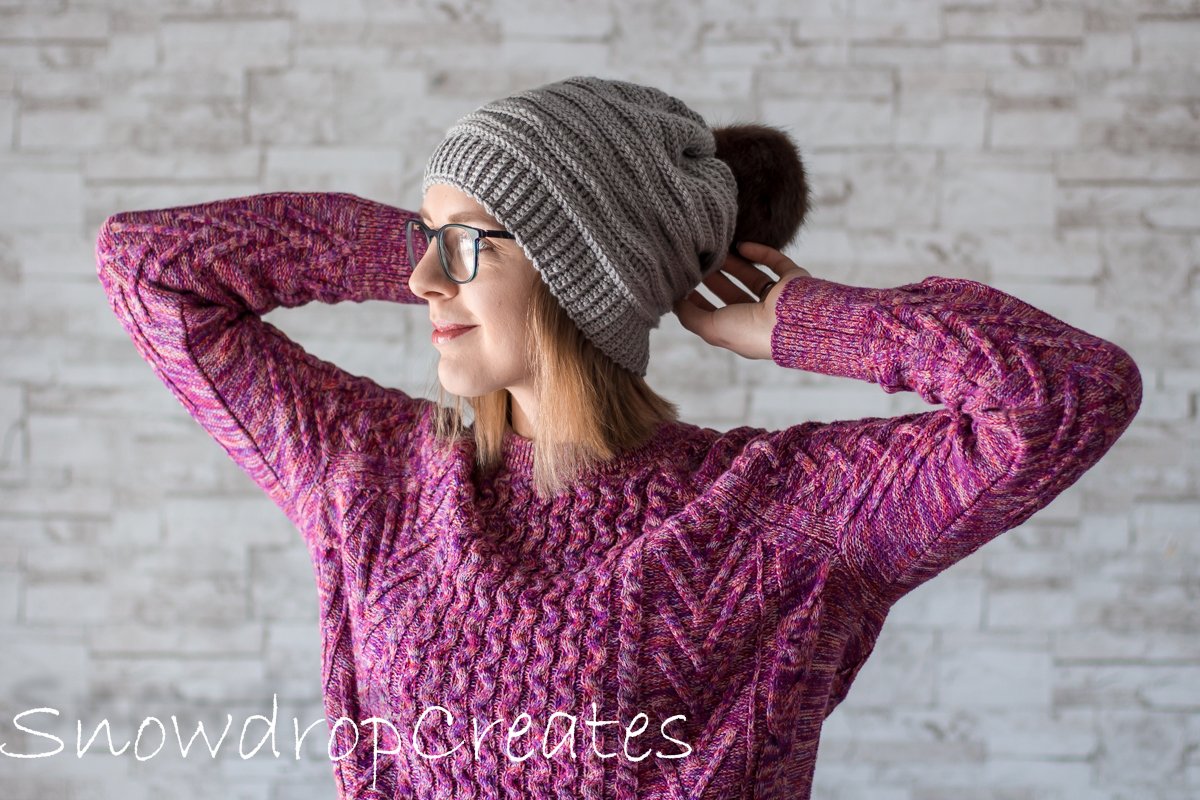
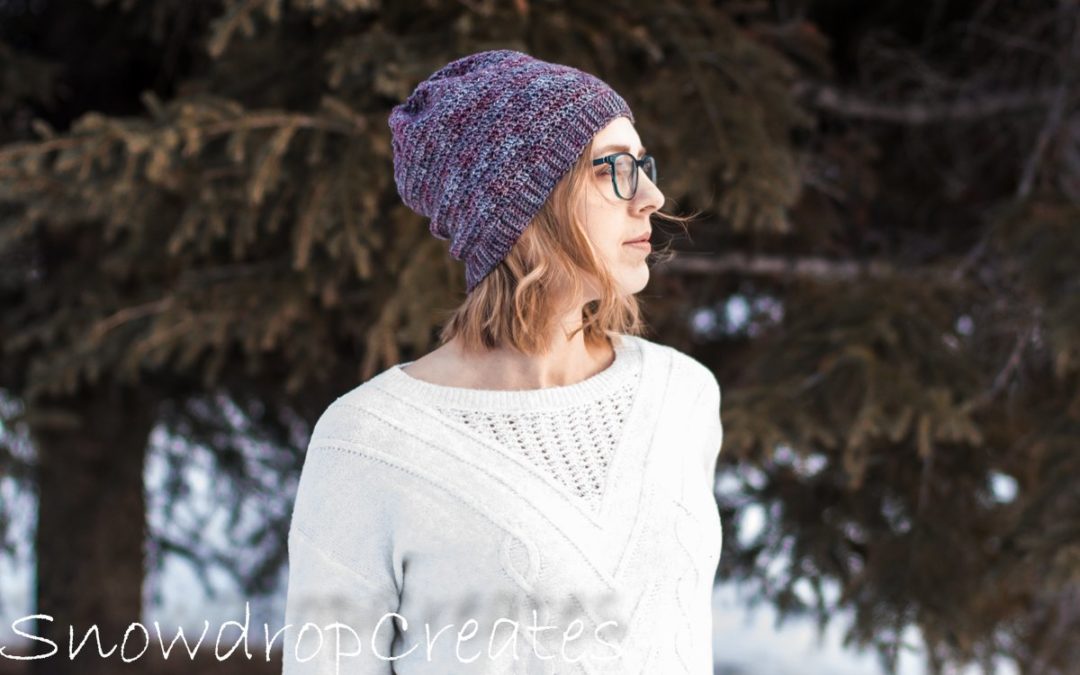
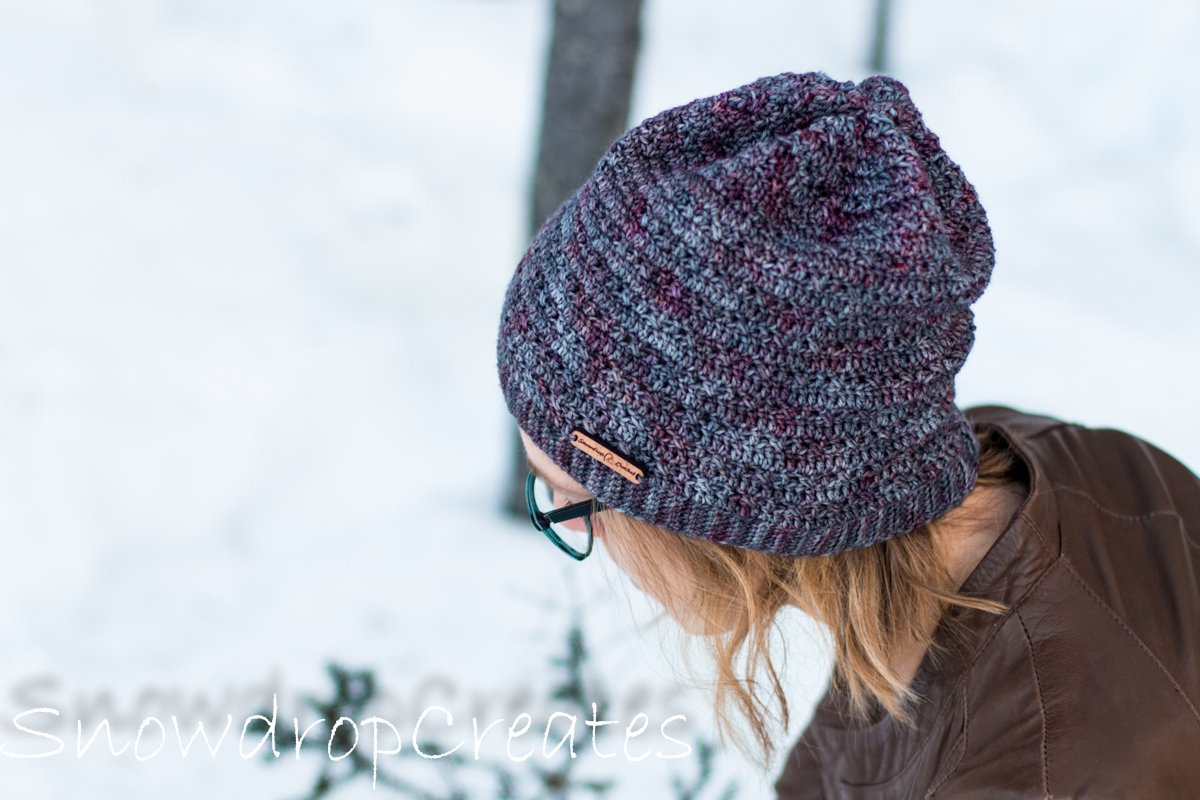
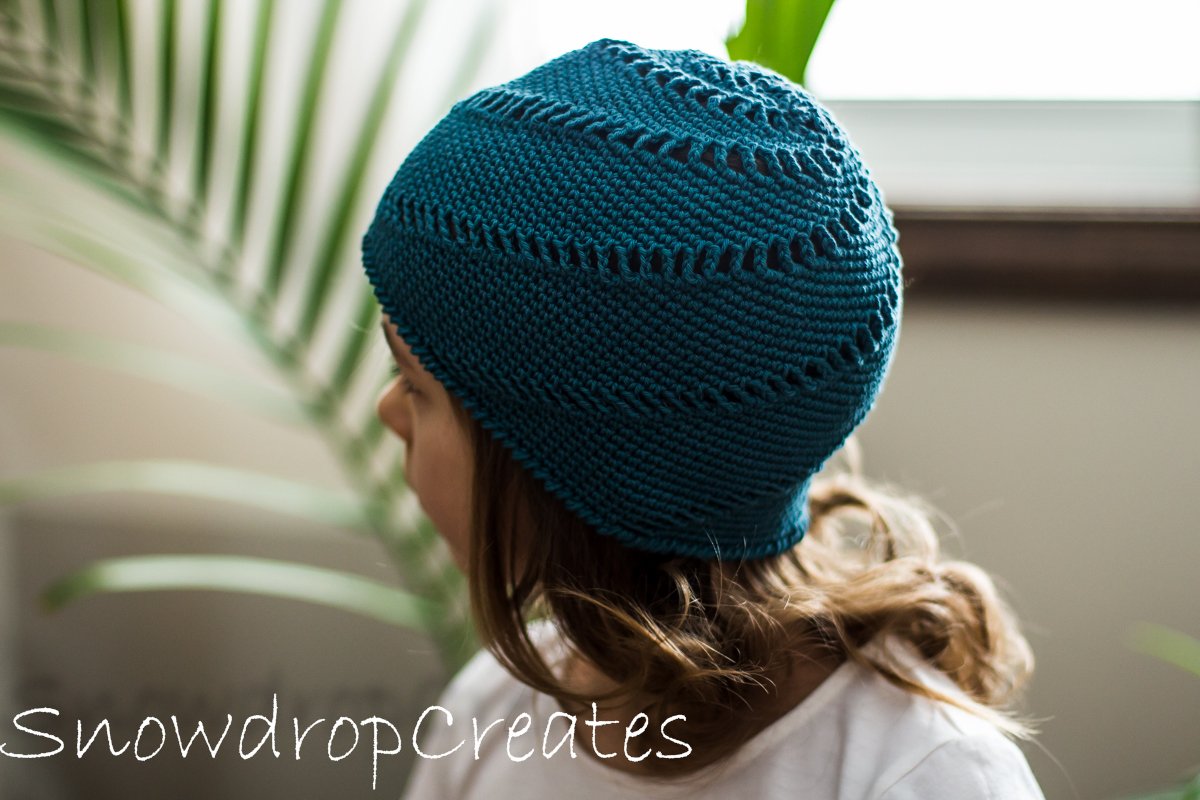
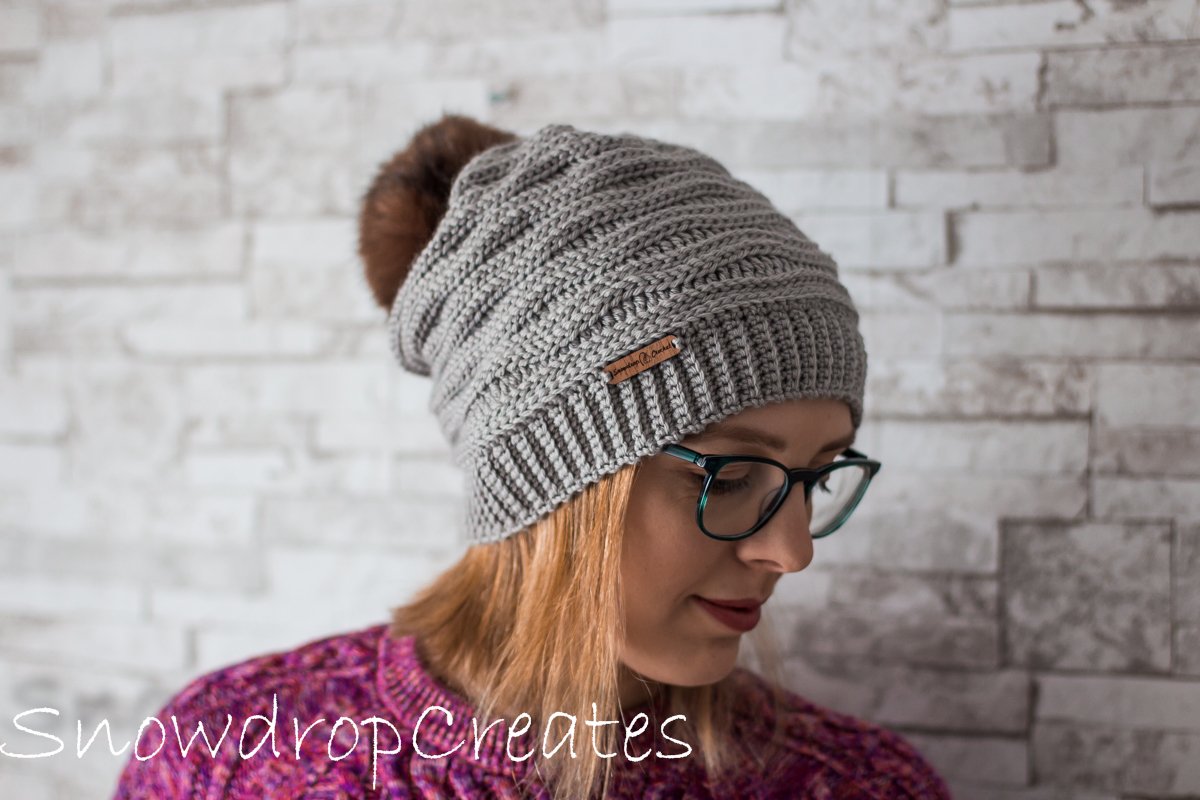
It is a fairly easy and beginner friendly pattern, using only familiar stitches. The subtle waves made me think of the shore, and the grey colour of this beautiful yarn reminded me of rocks. Hence, the name, Rocky Shore!
Knitpicks Gloss is still one of my go-to yarns because it has a beautiful sheen and very nice stitch definition! It is a wool/silk blend that is just heavenly soft and cosy. I am extremely sensitive to scratchy wool, so it means a lot if I can say that about this yarn!
PATTERN:
|
Sizes: Toddler (18-19” head circumference) Child (20-21” head circumference) Adult (22-23” head circumference)
Gauge: 10sc &10 rows in 2” (measured in the band)
|
Materials: Yarn: DK weight yarn. (2, 2, 3 skeins) Hooks: G/4mm & H/5mm Other: Darning needle to weave in the ends Large pompom
|
Abbreviations:
Ch – Chain(s)
St(s) – Stitch(es)
Sk – Skip Stitch
Slst – Slip Stitch
Sc – Single Crochet
Dc – Double Crochet
Tr –
Blo – Back Loop Only
Flo – Front Loop Only
Slst2tog – Slip Stitch Two Together
Sc2tog – Single Crochet Two Together
Notes:
- The chain at the beginning of each round does NOT count as a stitch. Always crochet into the first stitch (joining stitch) of the round;
- Always join to the first stitch of the round, NOT the chain;
- Count stitches after each round to make sure the hat doesn’t expand;
- Work slst loosely (making sure you have nice, even rows and stitches).
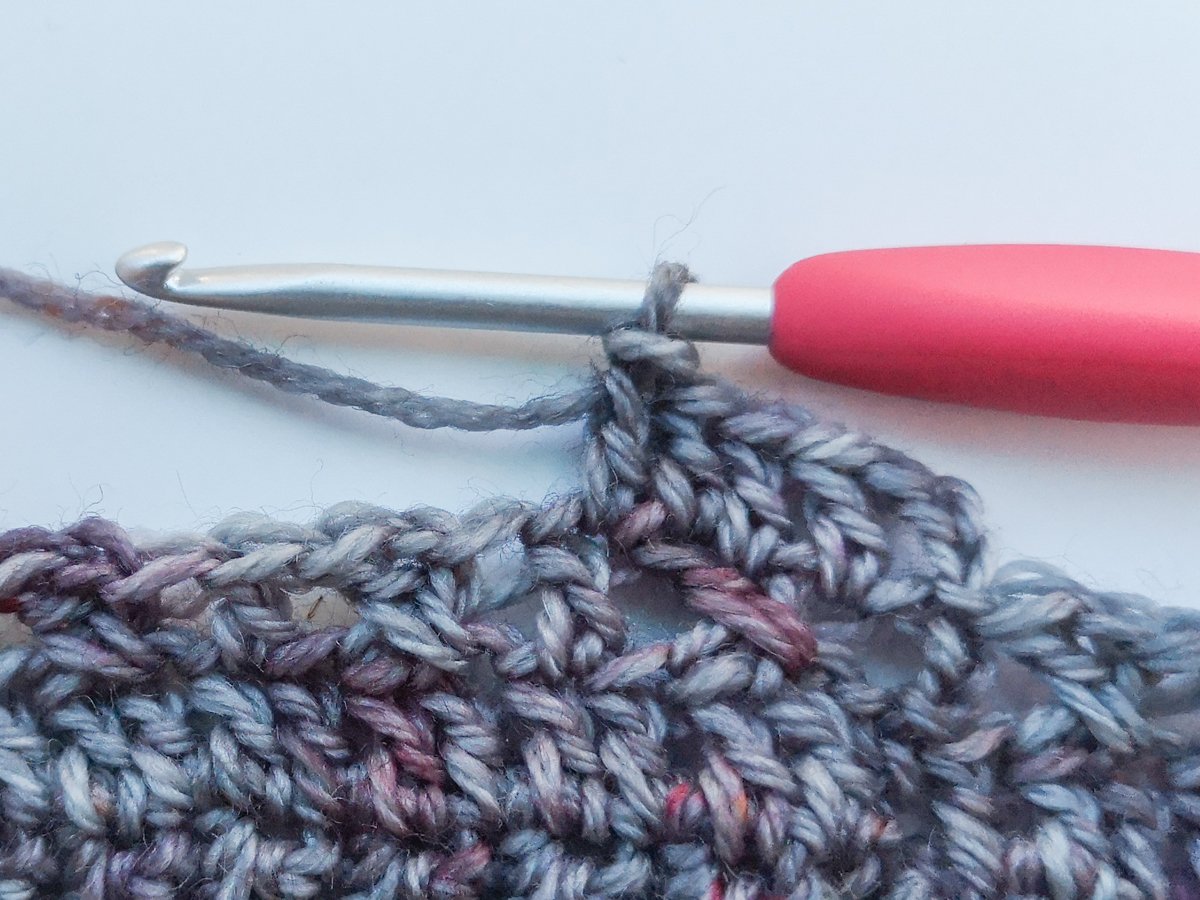
Instructions:
Ch 6, 8, 10
- sc in second ch and each ch throughout, turn (5, 7, 9 sts)
- ch1, sc in first st, sc in
blo of next (3, 5, 7) sts, sc in last st, turn
Repeat row 2 until you have (84, 96, 108 rows)
Fold band in half so the last worked row and beginning ch meet. Join by
Now, switch to 5mm hook and start working on the body of the hat into the sides of the band rows.
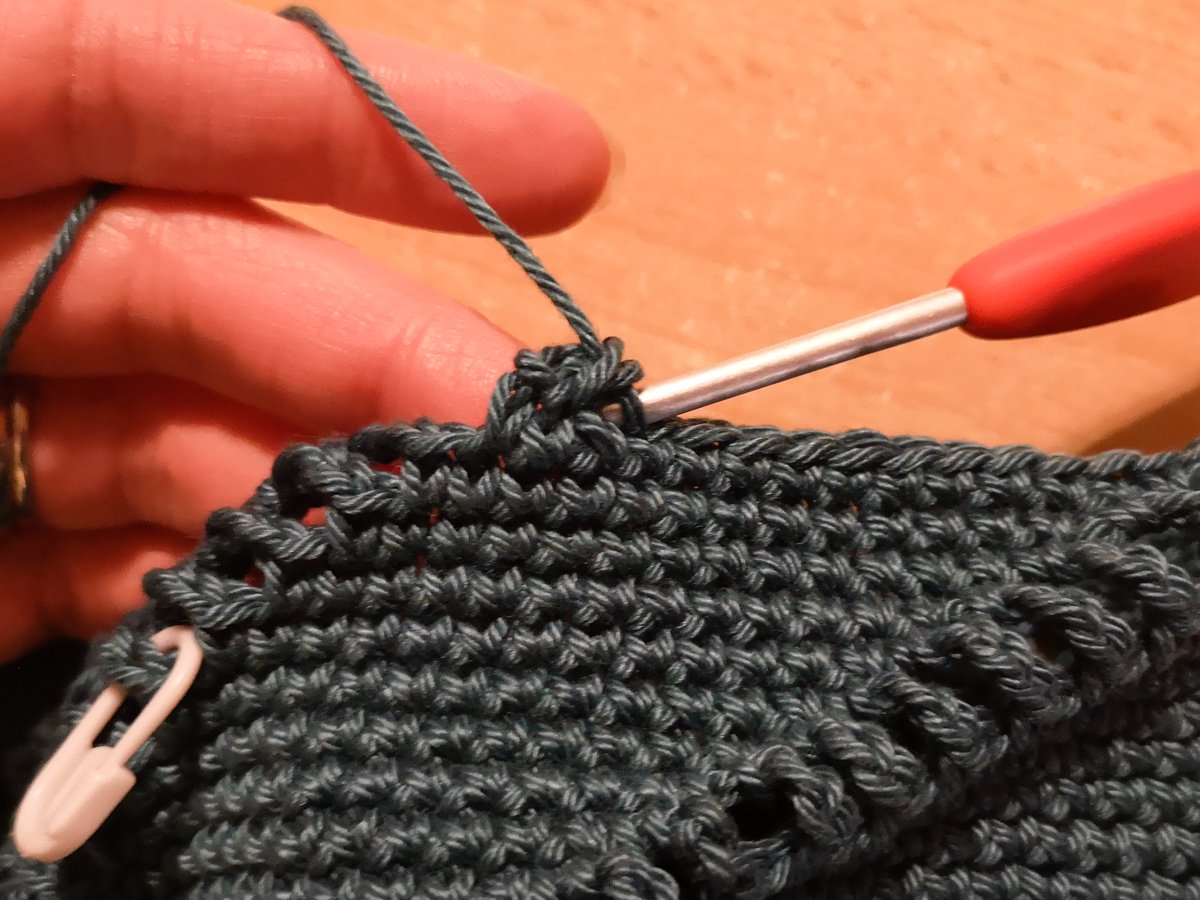
Body:
- Ch1, sc into each row, join, turn (84, 96, 108 sts)
- Ch1,
slst into FLO of each st, join, turn - Ch1, sc into BLO of each st, join, turn
- Ch1,
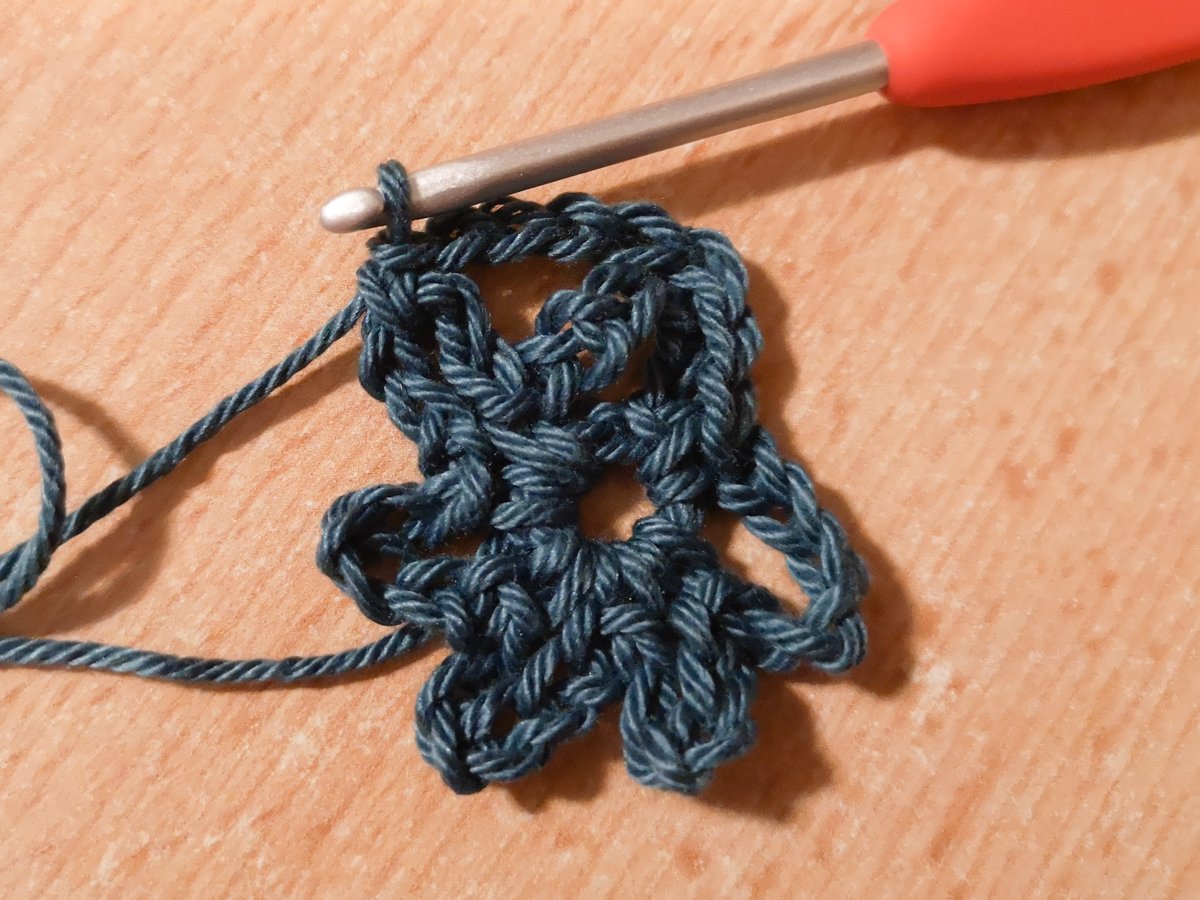
slst into FLO of each st, join, turn - Ch3, (tr BLO 2, dc BLO 2,
hdc BLO 4, dc BLO 2, tr BLO 2) repeat (6, 7, 8) more times, join, turn - repeat row 2.
- repeat row 3.
- repeat row 4.
- Ch1, (
hdc BLO 2, dc BLO 2, tr BLO 4, dc BLO 2,hdc BLO 2) repeat (6, 7, 8) more times, join, turn
Toddler: Repeat
Child/Adult: Repeat rows 2-9 three more times.
Decrease:
- ch1, (slst FLO in next 4, slst2tog FLO) repeat 14, 16, 18 times, join, turn (70, 80, 90 sts)
- ch1, (sc BLO in next 3, sc2tog BLO) repeat 14, 16, 18 times, join, turn (56, 64, 72 sts)
- ch1, (slst FLO in next 2, slst2tog FLO) repeat 14, 16, 18 times, join, turn (42, 48, 54 sts)
- ch1, (sc BLO in next, sc2tog BLO) repeat 14, 16, 18 times, join, turn (28, 32, 36 sts)
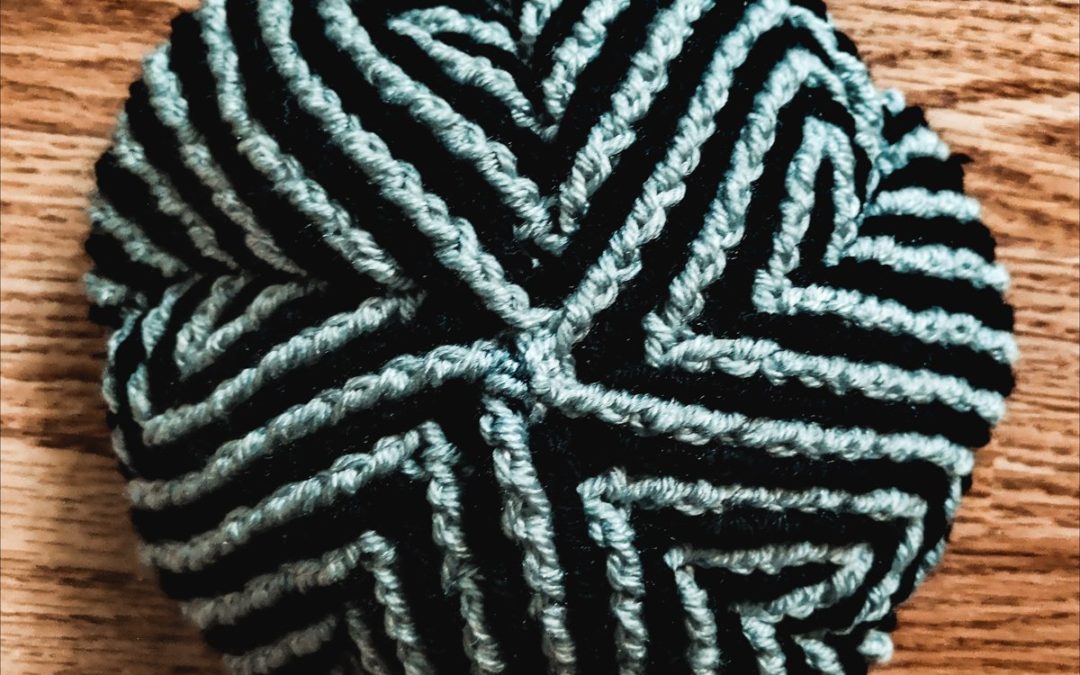
- ch1, (slst2tog FLO) repeat 14, 16, 18 times, join. (14, 16, 18 sts)
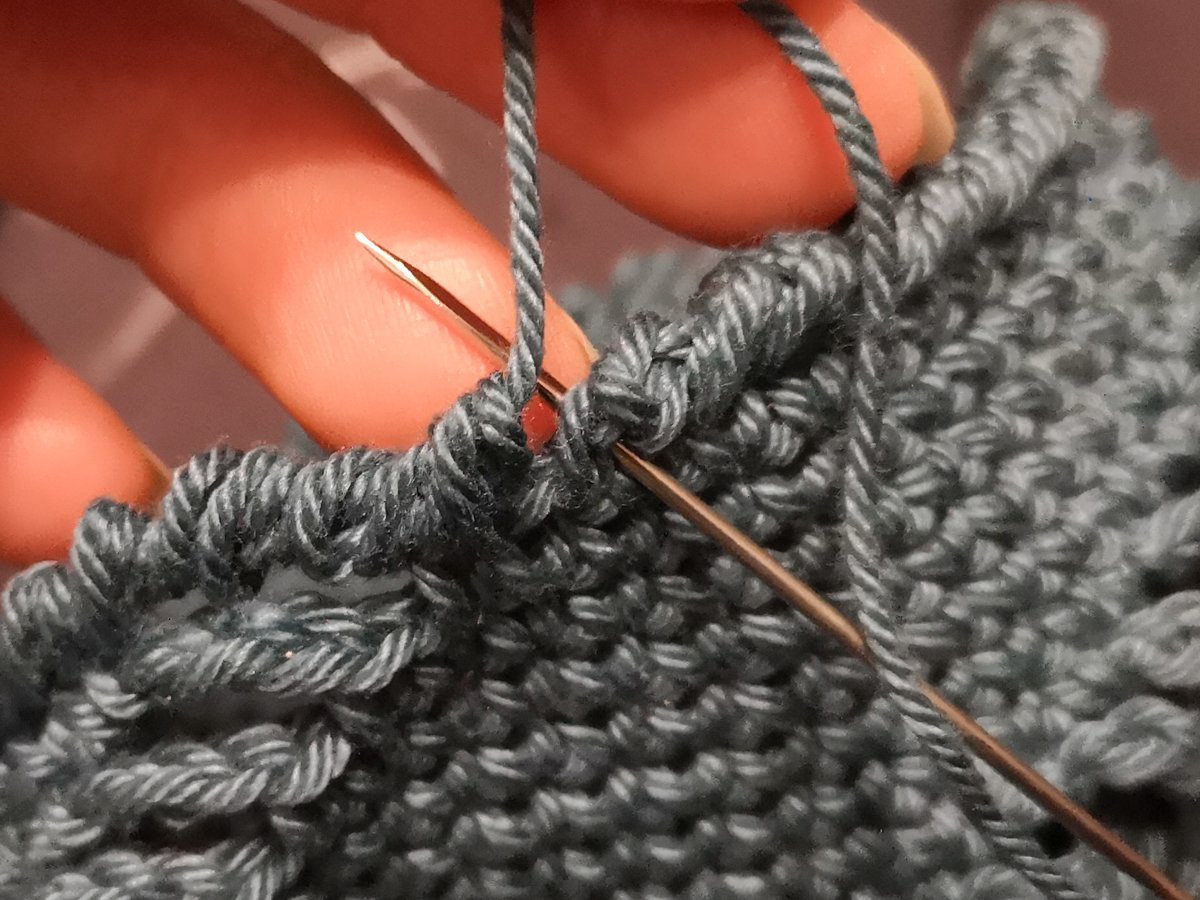
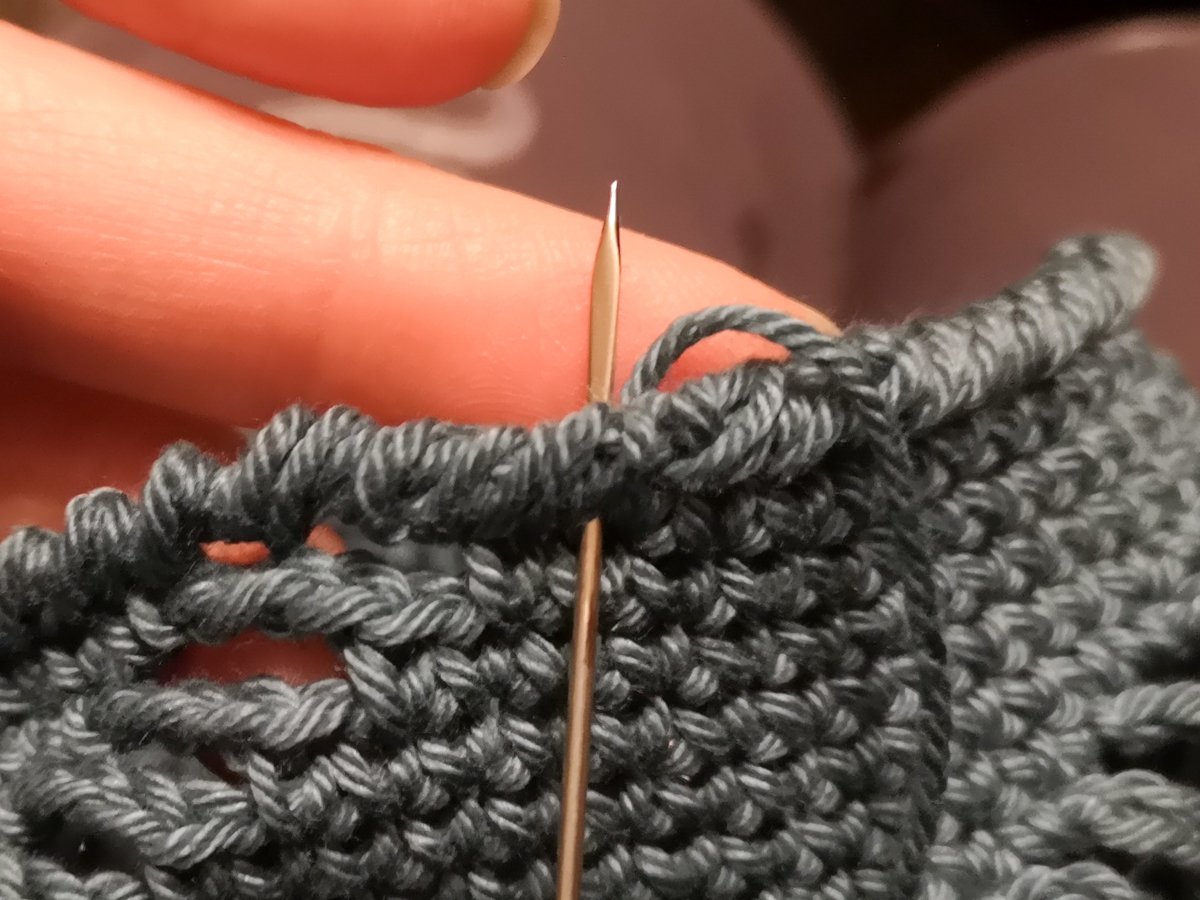
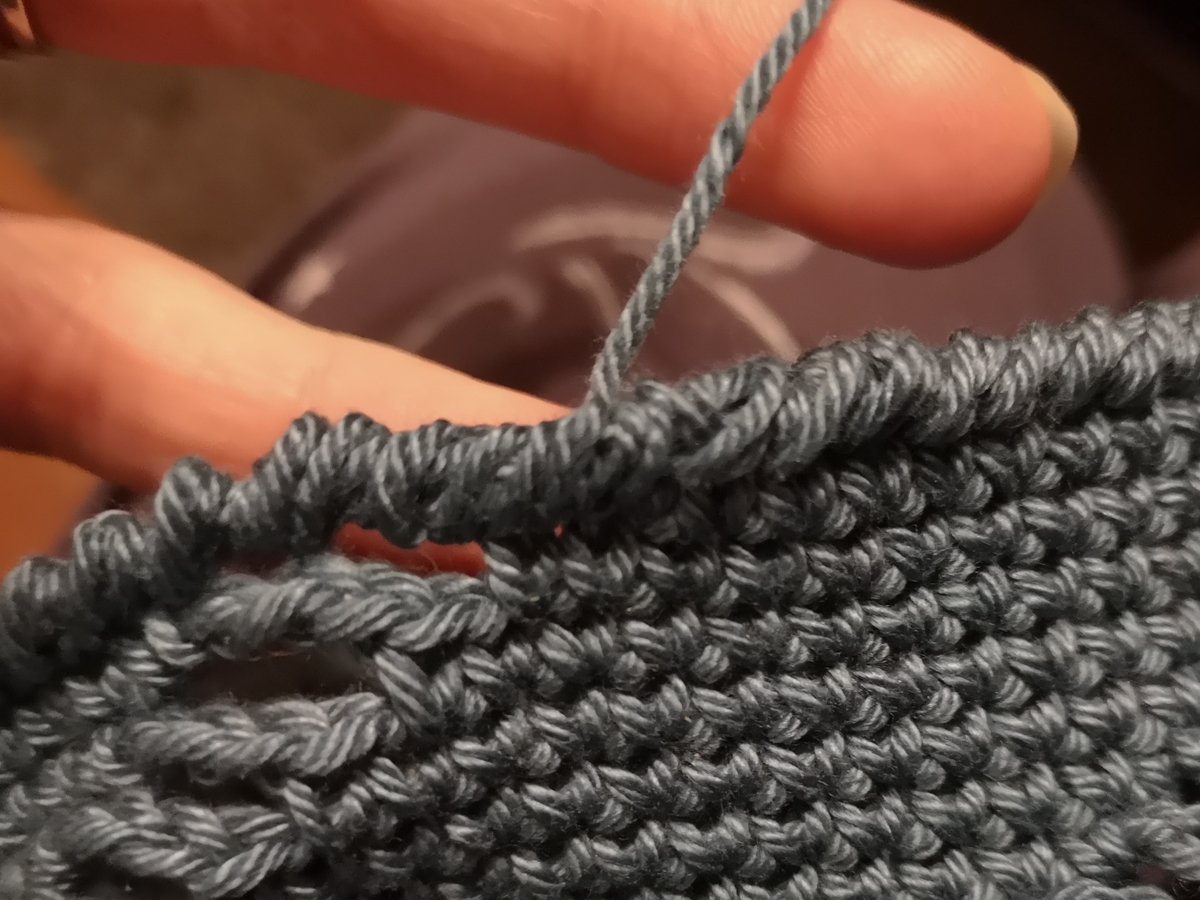
Cut yarn leaving a long tail. Weave tail back and forth through remaining sts and pull hole closed. Secure/weave in all ends.
Attach a pompom if you like.
You’re done 🙂
If you would like to get the downloadable and
I hope you have lots of fun with this pattern, and share with me on Social Media: Tag me and use hashtags #snowdroprockyshore #snowdropcrochet #rockyshorehat to be featured!
Don’t forget to subscribe! There is a new free hat pattern released every week!
Have a happy, crafty weekend and until next week!
Emma