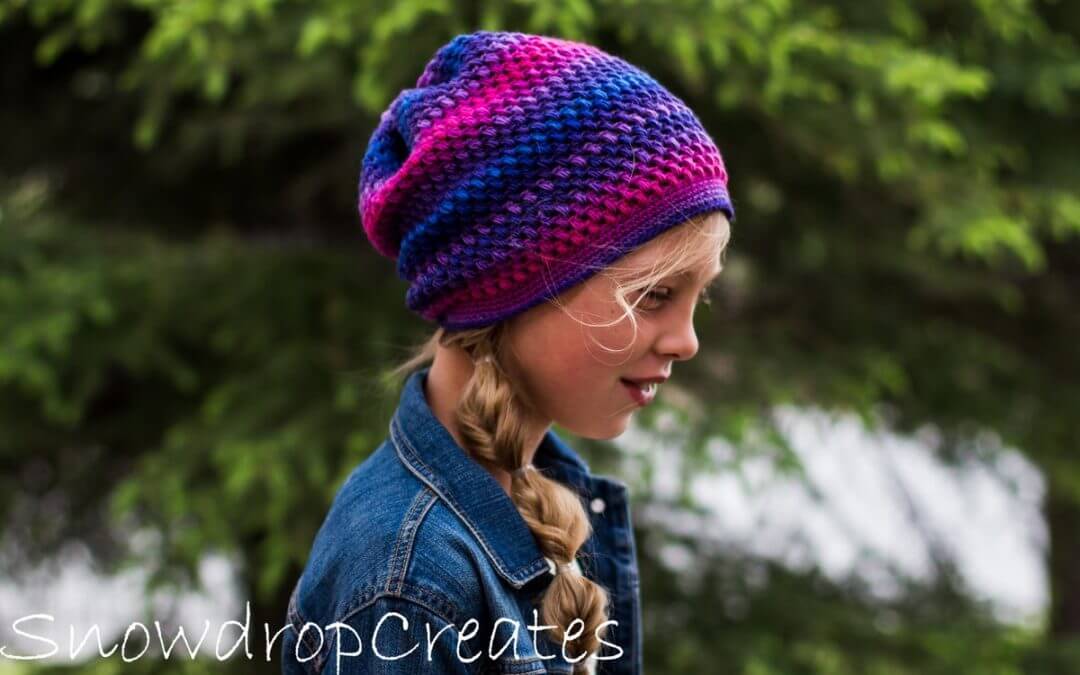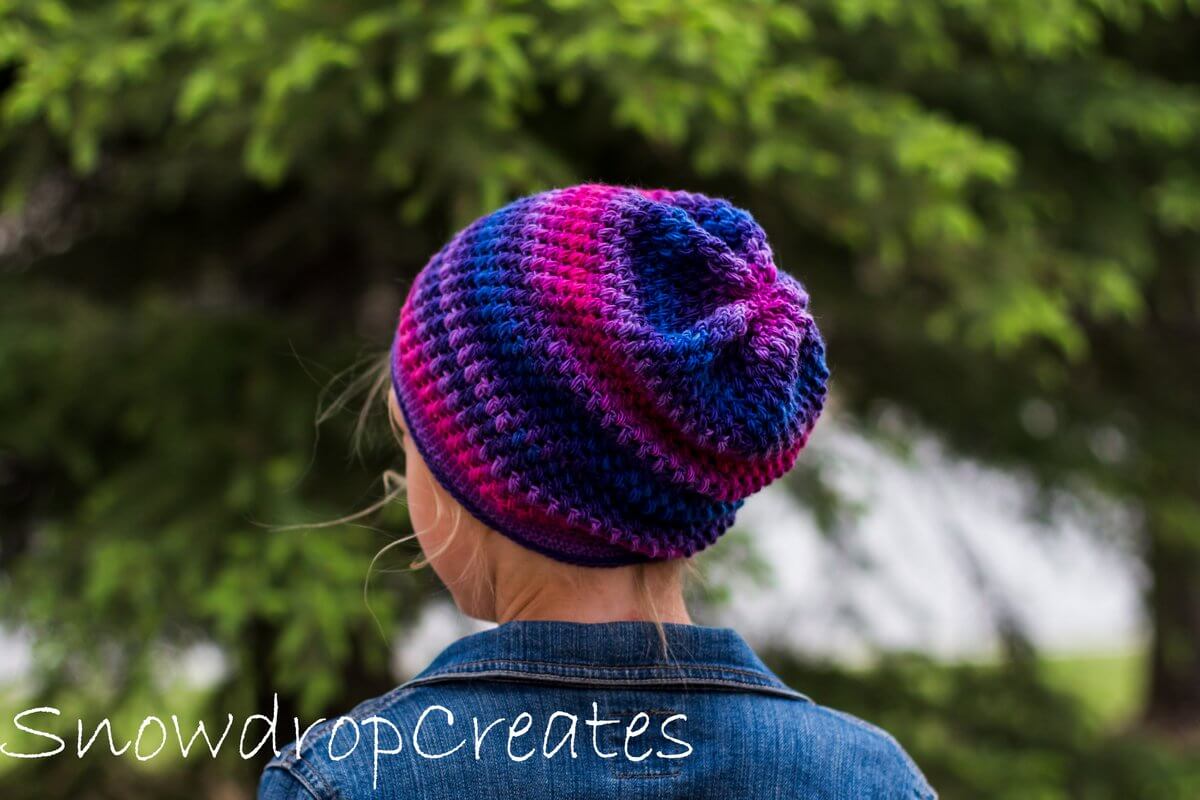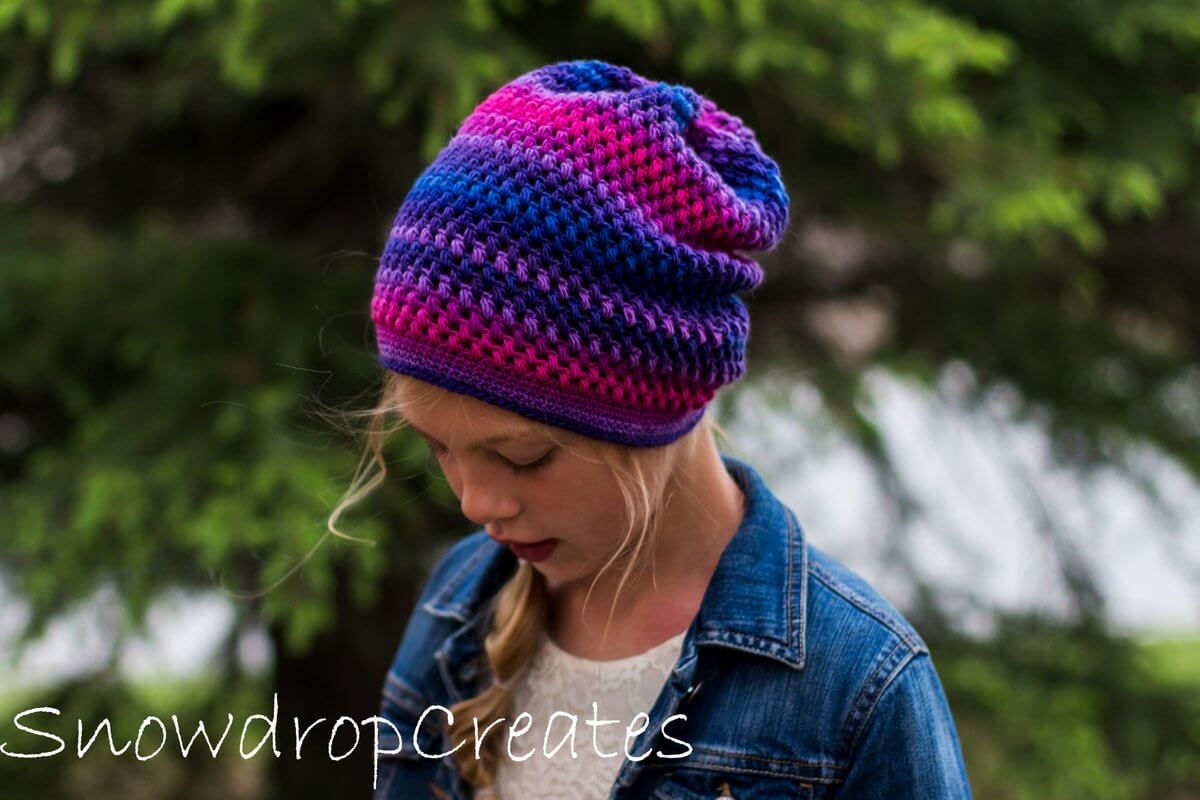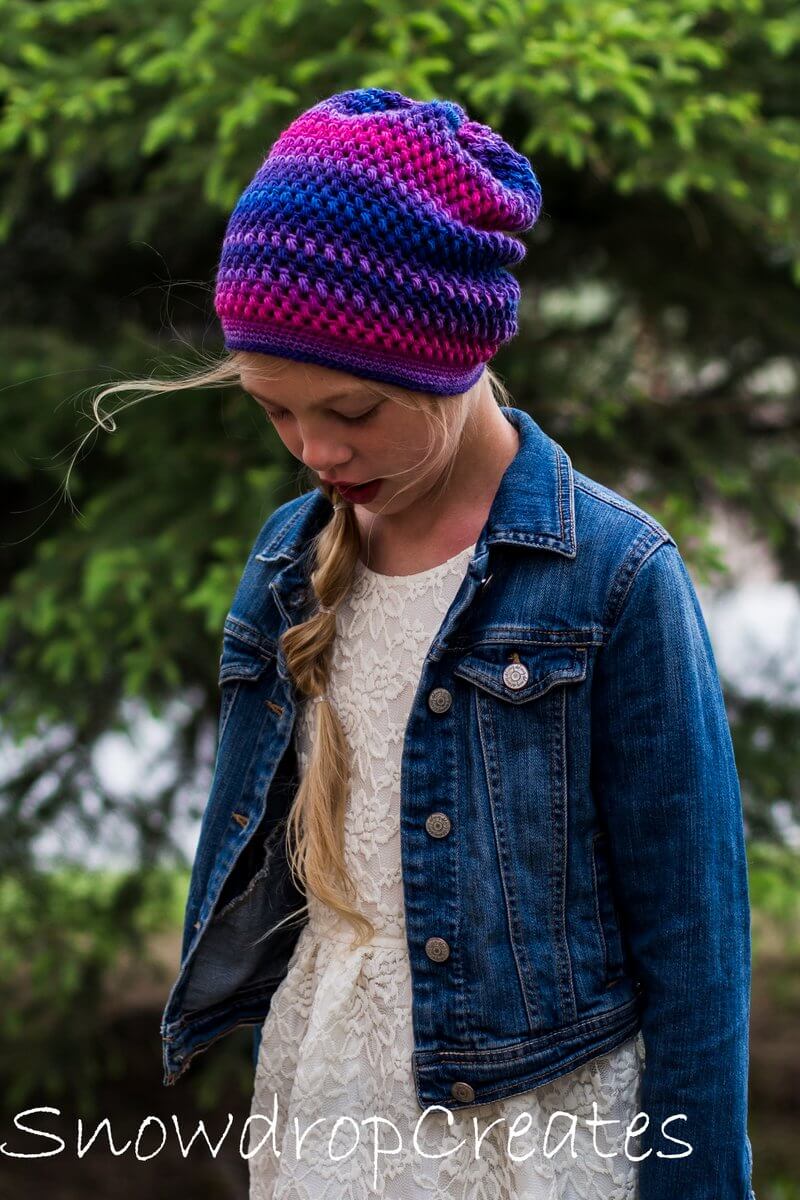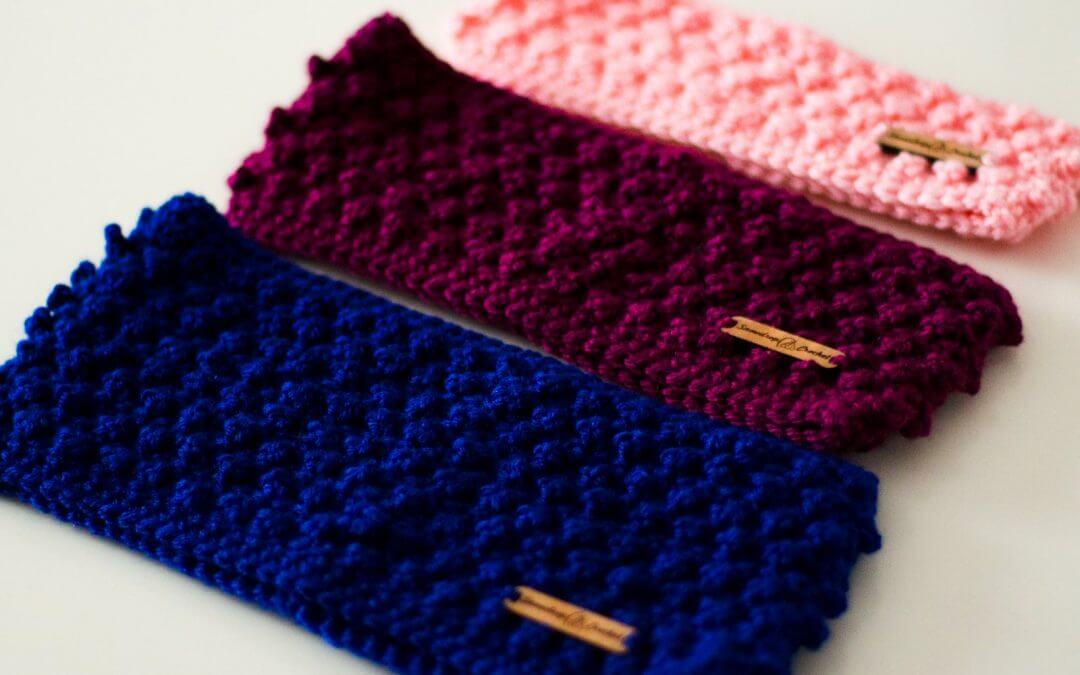
Petite Picot Headband
It has been a whirwind of a year so far, and the Year of Hats project on my little blog had to take a short break because life happened. But I am back and fully intend to finish this project! I will not stop until there are 52 FREE hat (or headband) patterns on this site. How awesome will it be to have a one-stop-source for all the head coverings you want to make?!
Get your yarn for the Petite Picot Headband here

To ease us back in there is another headband pattern for you today. The Diamonds Headband is by far your most favorite pattern, so I thought I would make another quick pattern just in time for all those fall craft shows and gift season! Just like the Diamonds headband, it is super easy and quick to make, uses less than one skein of yarn for any size (60gr for adult size!!!), and is perfect for gifts, stocking stuffers, selling on fairs…
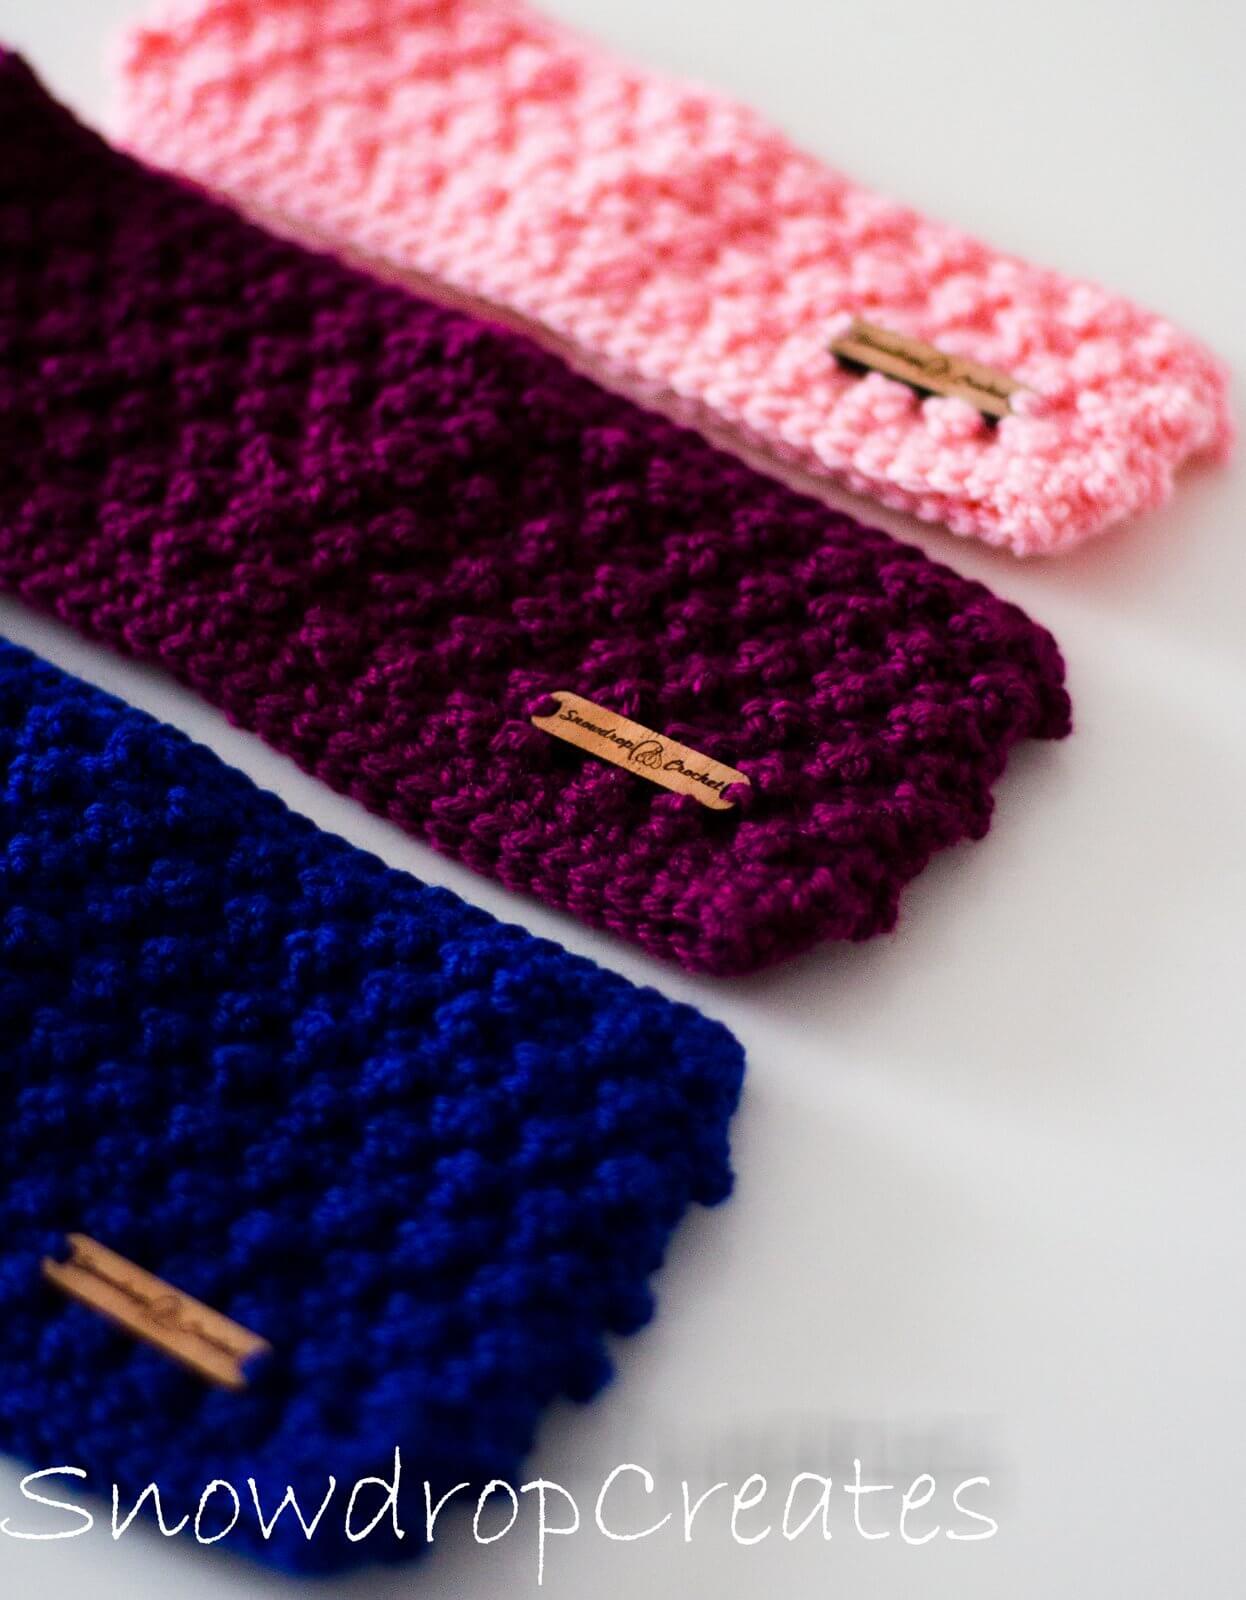

This pattern includes three sizes: Toddler, Child, Adult. If you would like instructions on how to adjust this headband to any size, I have included those in the PDF version that is available on Ravelry for a buck 😉
Sooo, without further ado, here is your pattern:
|
Size: Toddler (18-19” head circumference) Child (20-22” head circumference) Adult (22-23” head circumference)
Gauge: 7.5 sts/8 rows (in pattern) in 2” |
Materials: Yarn: Worsted weight yarn. Sample was made in KnitPicks Brava (218 yards/100grams) 25-60gr Hooks: H/5mm Other: Darning needle to weave in the ends |
Abbreviations:
Ch – Chain(s)
Yo –Yarn Over
St(s) – Stitch(es)
Slst – Slip Stitch
Sc – Single Crochet
RS – Right Side
Notes:
- The headband is crocheted in rows, and then sewn together at the short ends. Always turn your work after each row;
- Ch1 at the beginning of the row does not count as a stitch;
- A join is always worked as a slst;
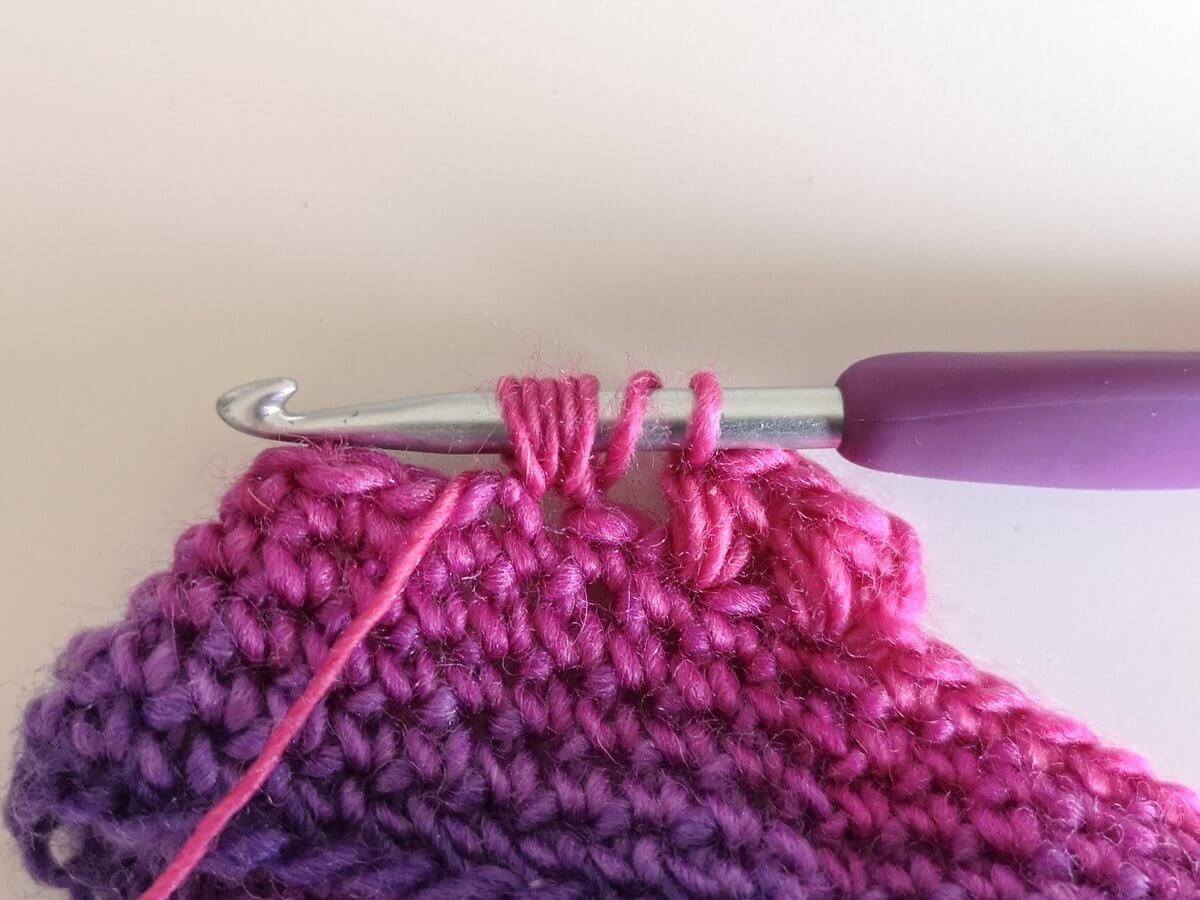
Special Stitch:
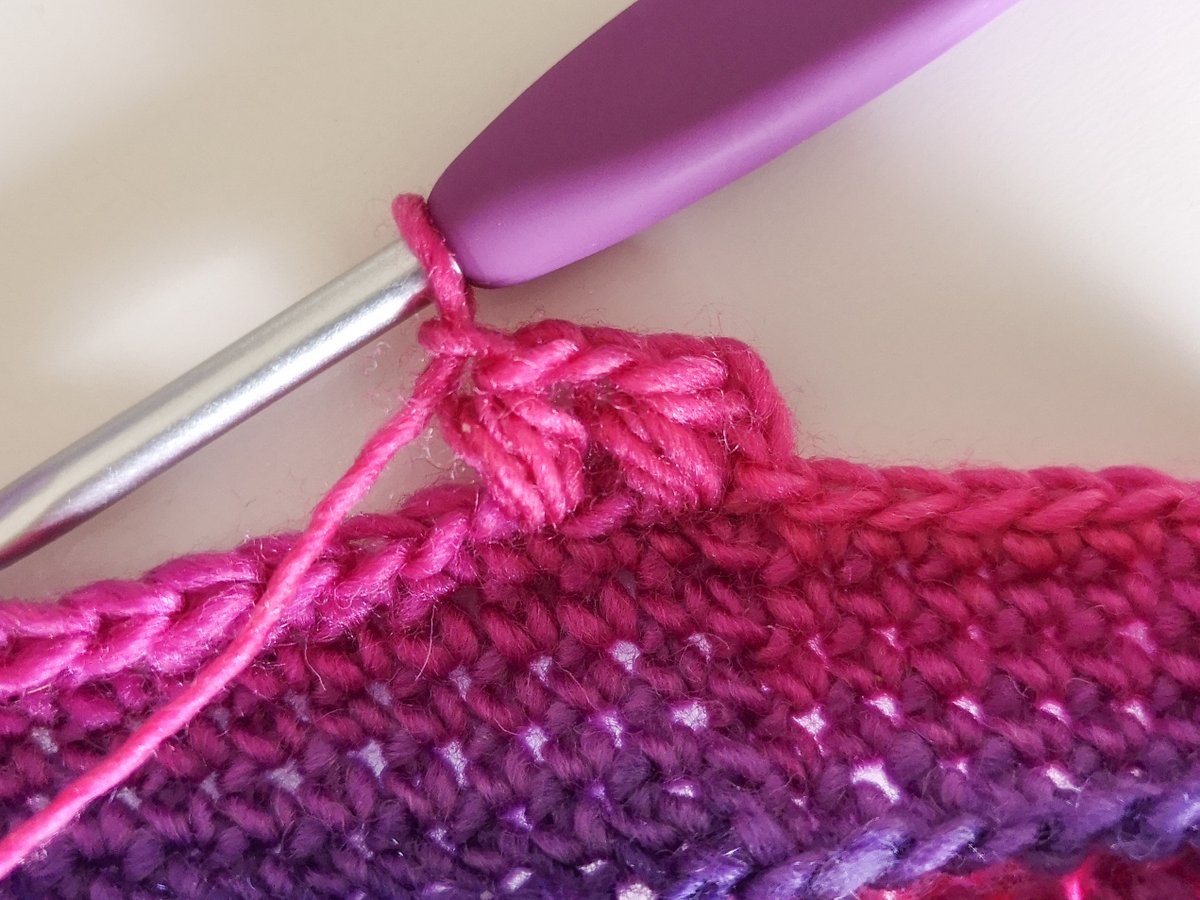
Picot: Insert hook into st indicated, pull up a loop. (Yo, draw through 1 loop on hook) 3 times, yo and pull through both loops.
Instructions:
Ch 60, 68, 76; or until chain can be put around the head, and the number is even.
Row 1: Sc in second ch and each ch across, turn; (59, 67, 75 sts)
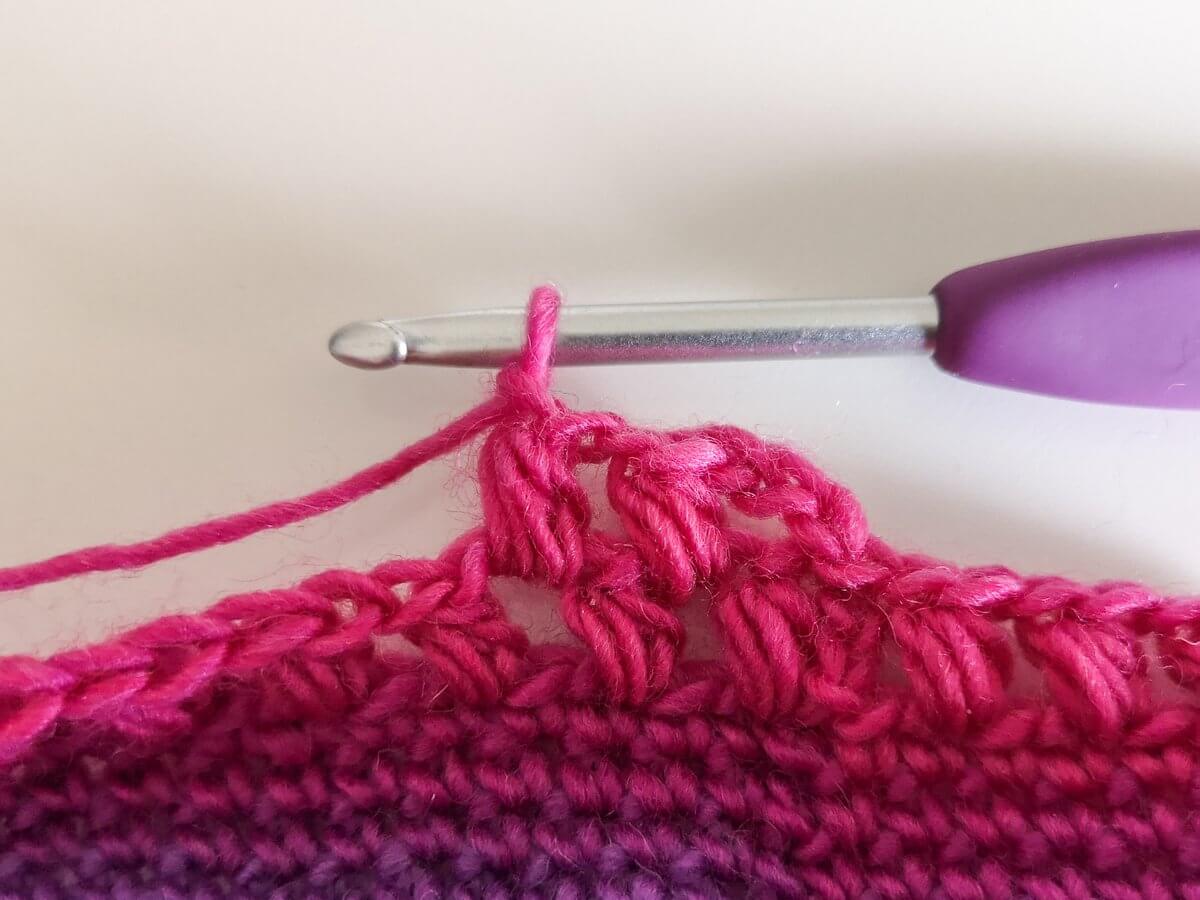
Row 2: (RS) Ch1, sc in first st, (picot in next, sc in next) repeat to end of row, turn


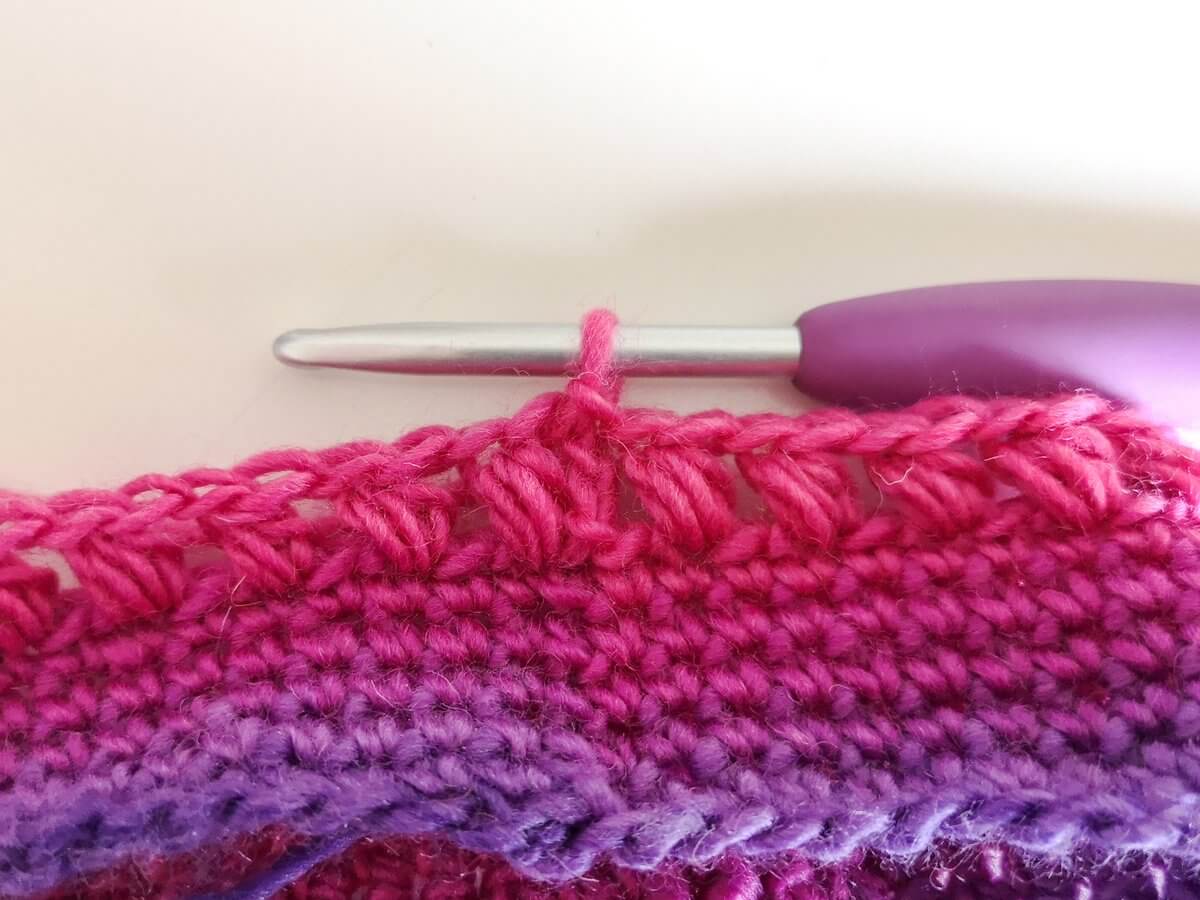
Row 3: Ch1, sc in each st, turn
Row 4: Ch1, sc in first 2 sts, picot in next, (sc in next, picot in next) repeat until two sts remain, sc in last 2 sts, turn
Row 5: Ch1, sc in each st, turn
For toddler size, repeat rows 2-5 one more time.
For child size, repeat rows 2-5 two more times.
For adult size, repeat rows 2-5 three more times.
Fold the band in half so the short ends meet right sides together. Ch1, slst or sew along the short rows.

Turn so the beginning ch is on top. Ch1, sc in each unworked loop from the beginning ch. Join, cut yarn.

Turn around so the last worked row is on top. Join yarn, ch1, sc in each st. Join, cut yarn.
Weave in all ends.
You’re done 🙂
The downloadable PDF version of this pattern includes instructions on how to adjust this headband to any size!

I hope you have lots of fun with this pattern, and share with me on Social Media: Tag me and use hashtags #snowdroppetitepicot #snowdropcrochet #petitepicotheadband to be featured!
Don’t forget to subscribe! There is a new free hat pattern released every week!
Have a happy, crafty weekend and until next time!
Emma
Disclaimer: This post contains affiliate links.
This means that at no additional cost to you, I might earn a small commission if you choose to click through and make a purchase.